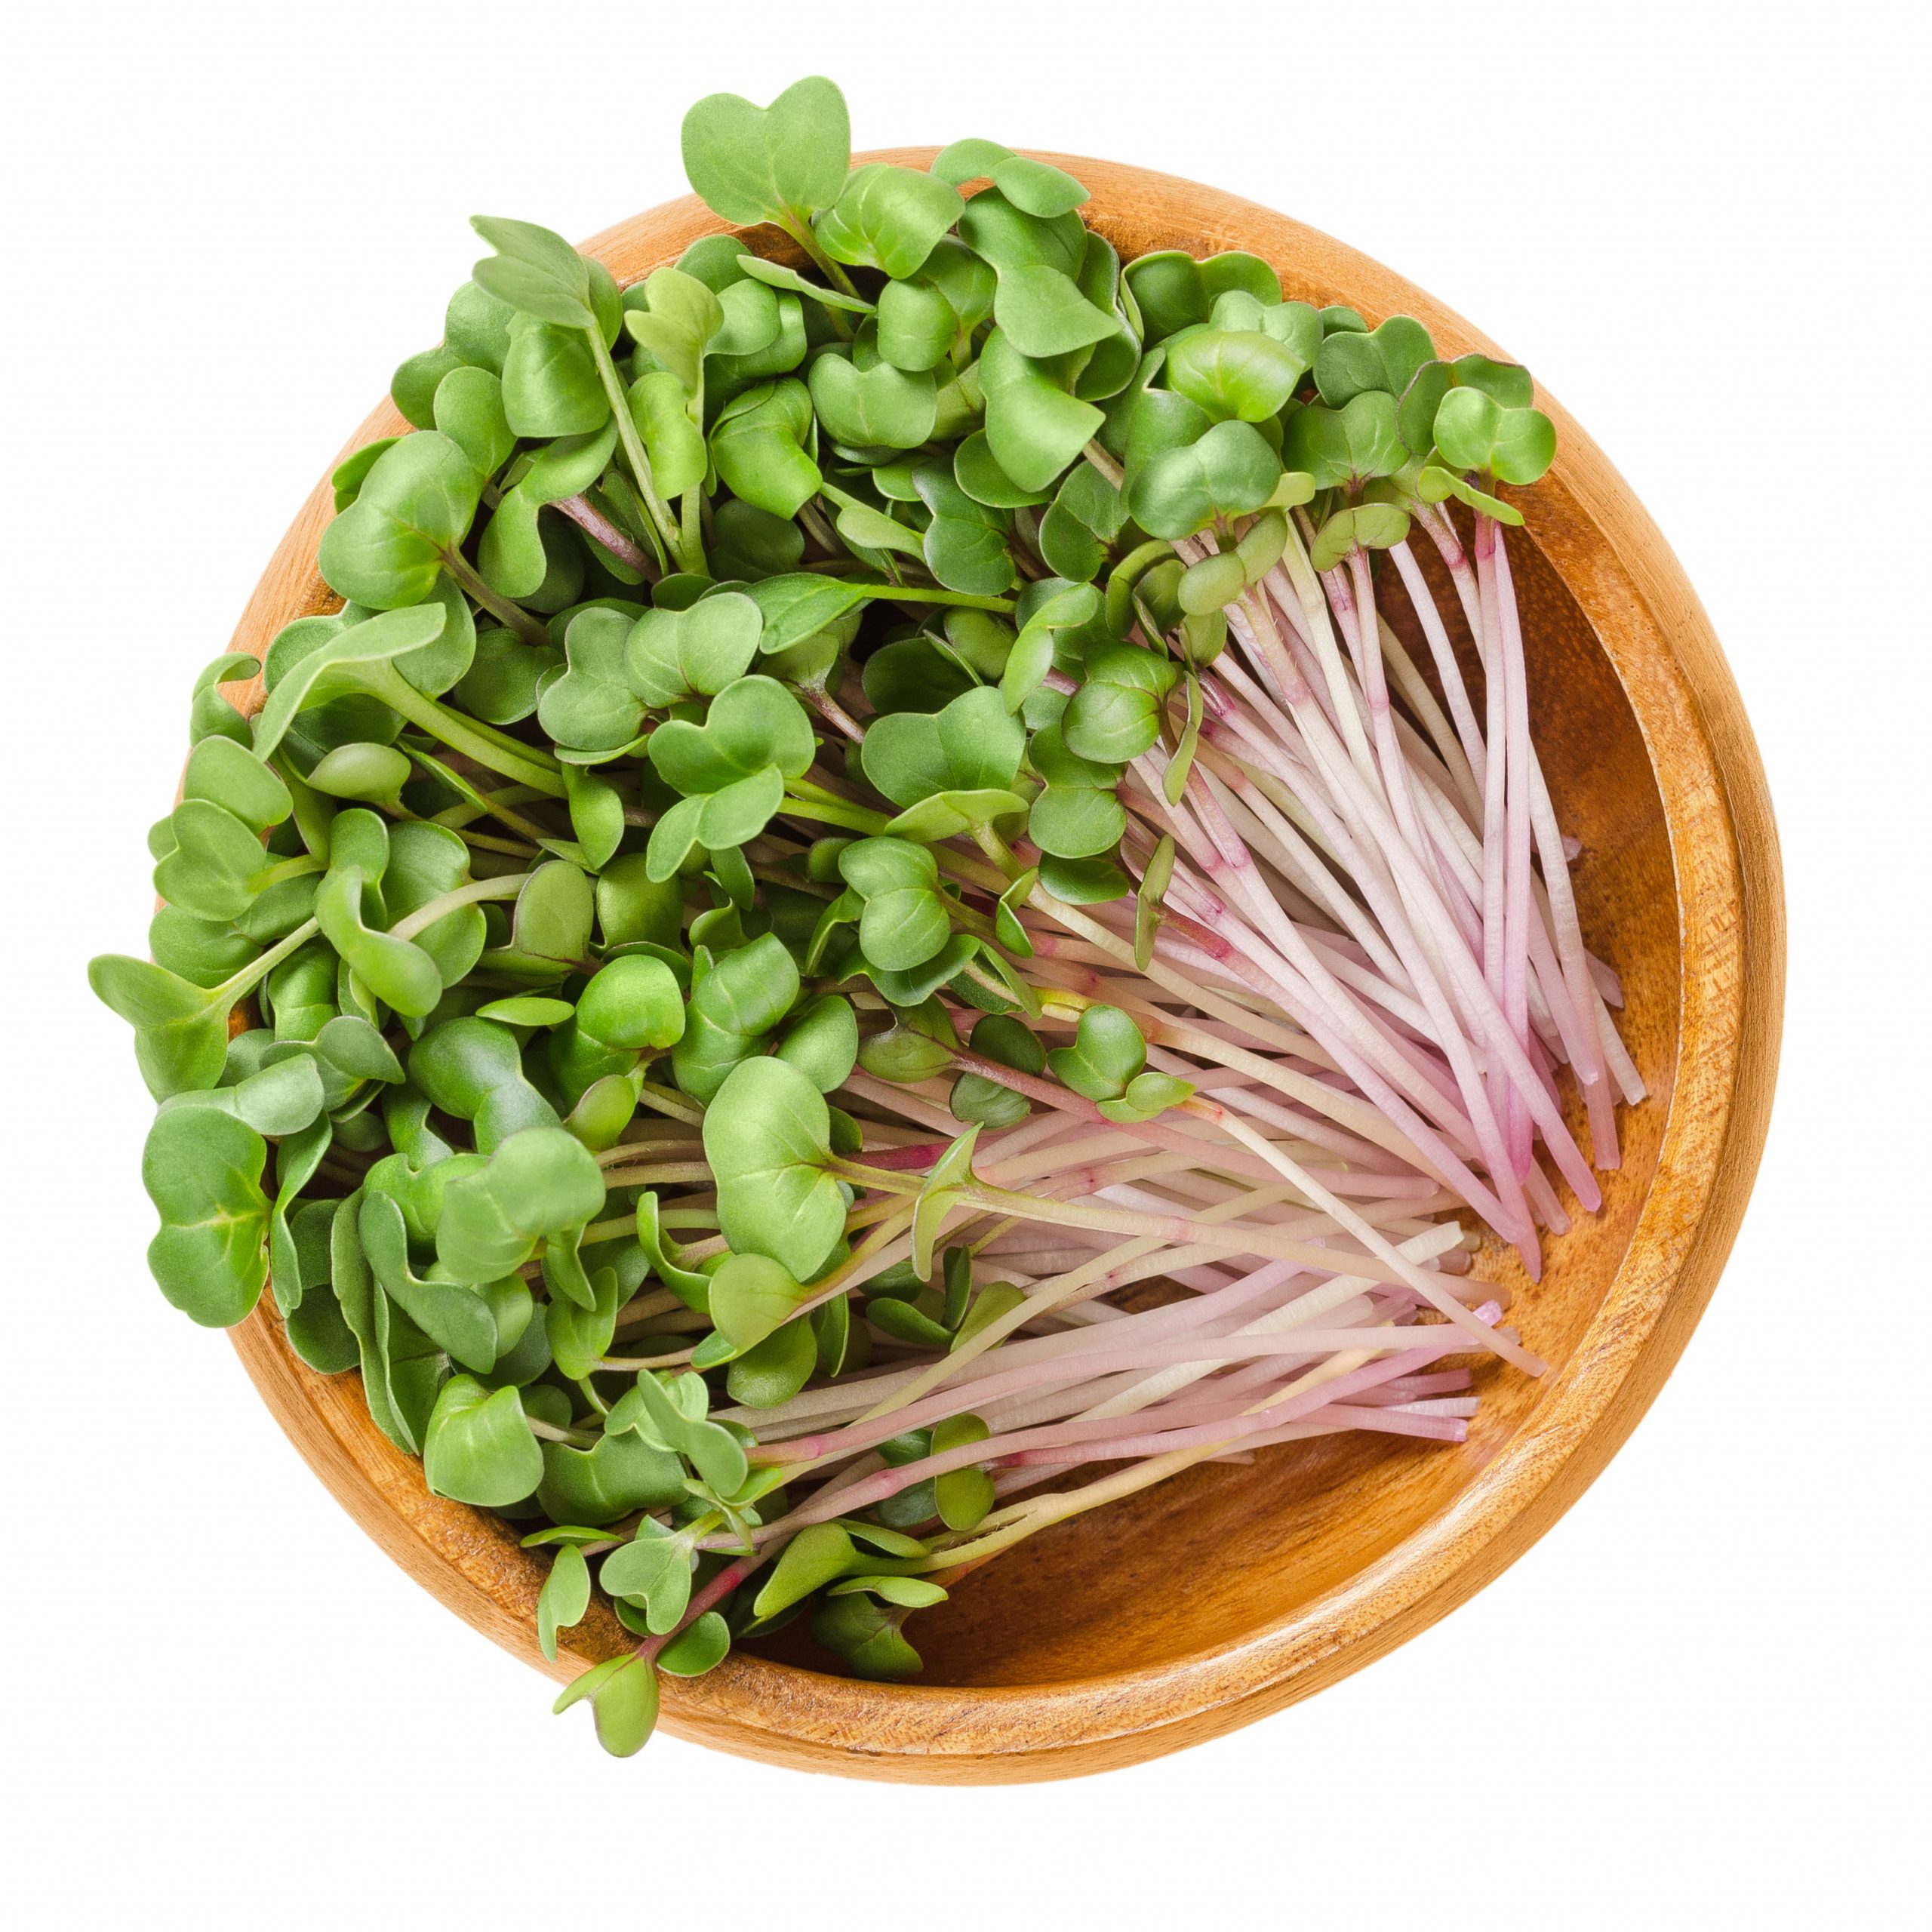
What are Microgreens?
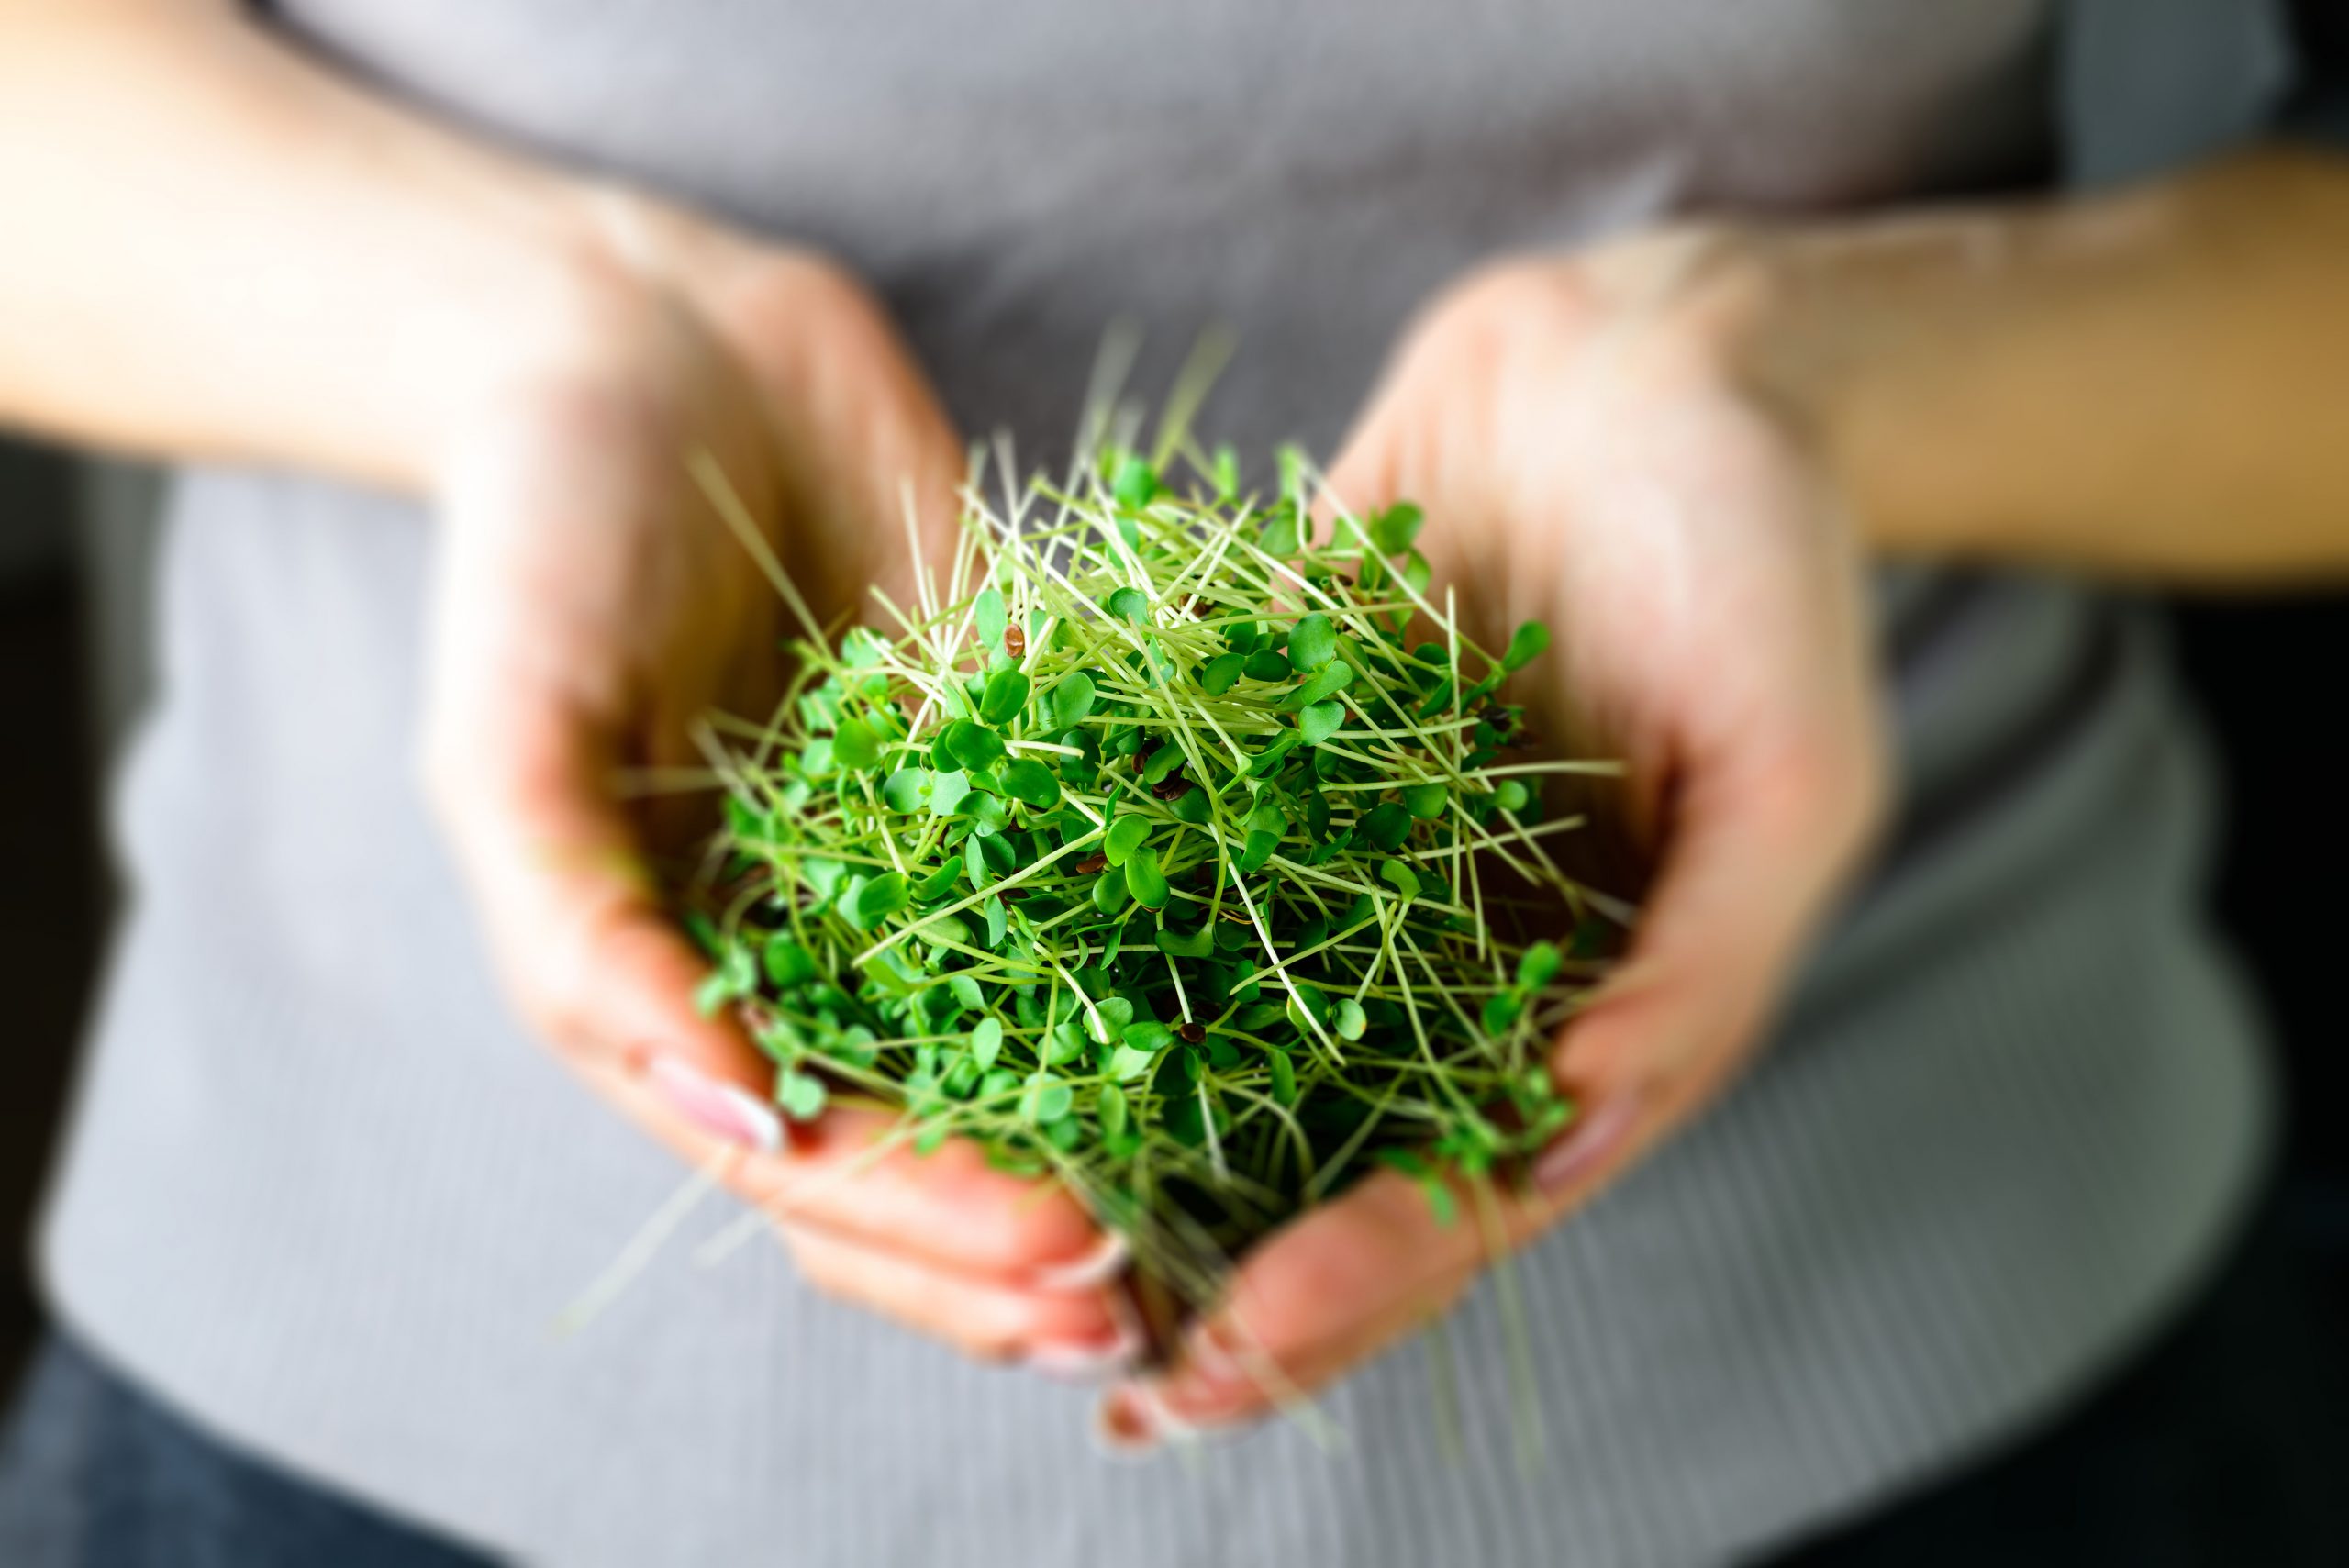
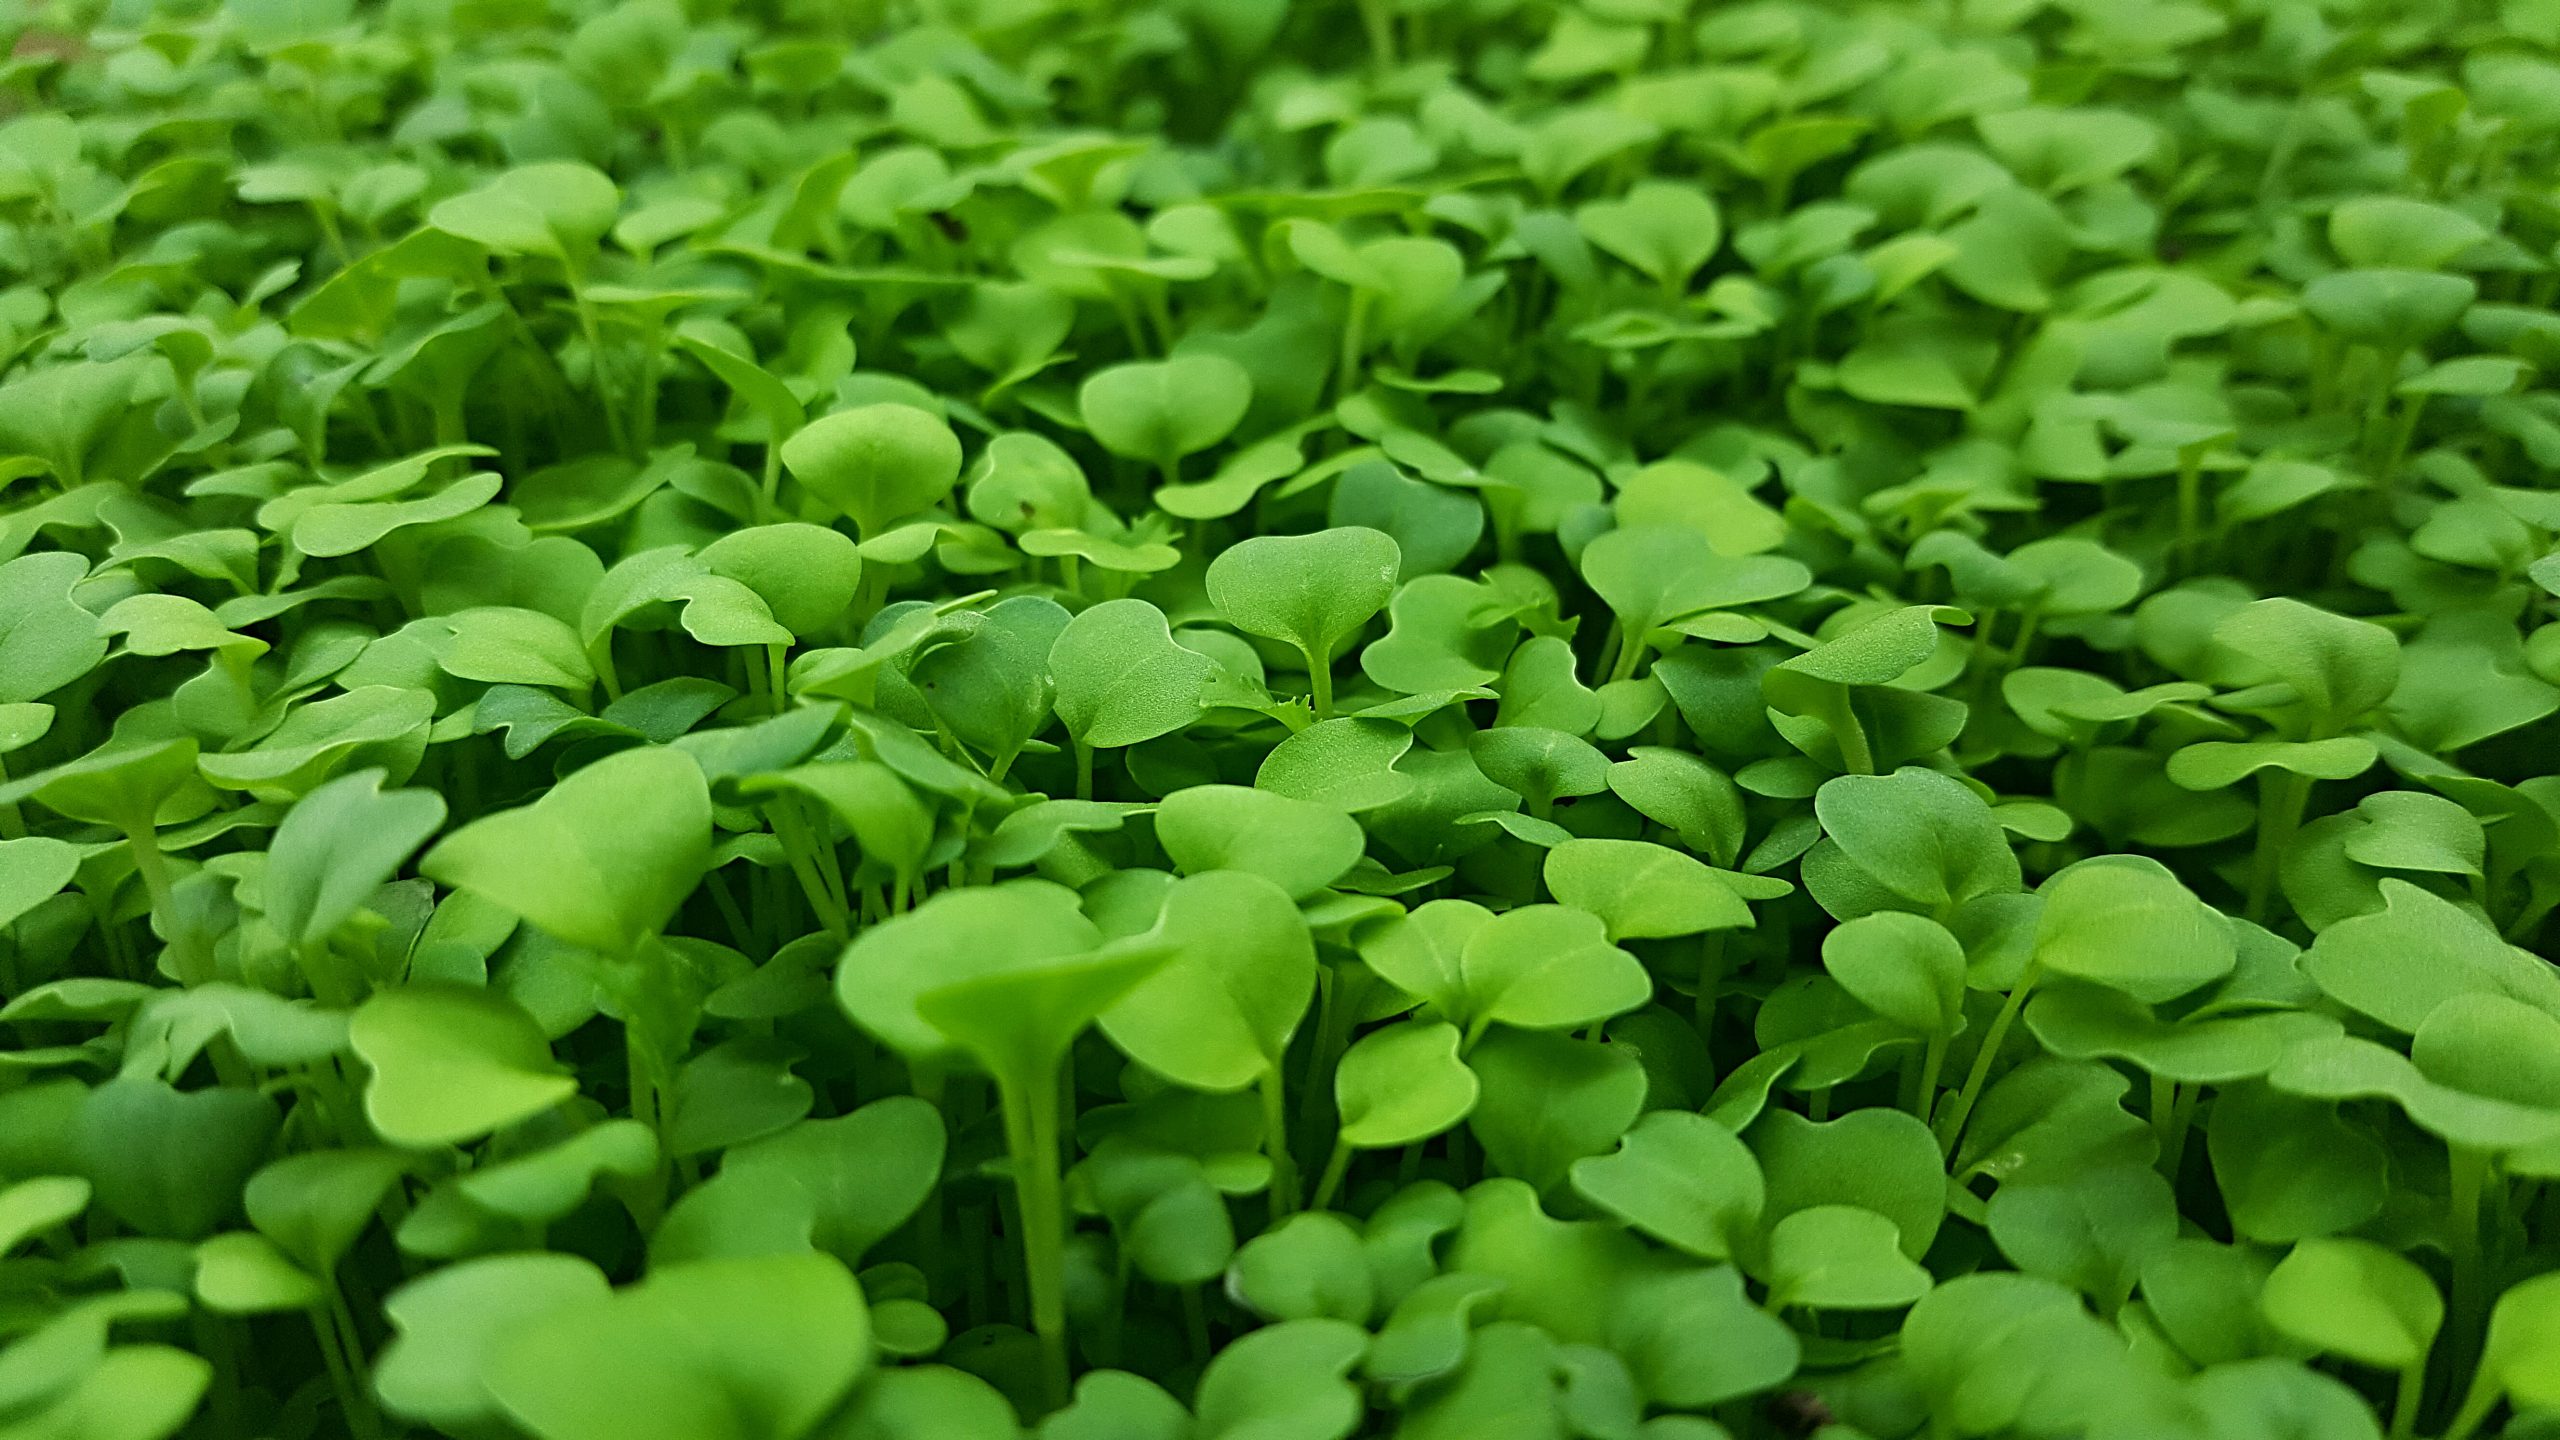
Microgreens are a very low maintenance sprout. Microgreens are the shoots of young salad plants such as arugula, swiss chard, beetroot and more. Served on top of basically everything. That’s very delicious depending on what you choose to grow. The flavor of the Microgreens can be more delicate and adds a more intense flavor. Microgreens provide vitamins and enzymes.This young salad plant is also called “ Vegetable Confetti”. Microgreens are a variety of edible immature greens. Also there are more nutrients dense than older counterparts. The “Vegetable Confetti” can be cut and regrown multiple times after first use. You’ll want to cut with scissors at the ground level of the plant. You’ll know when to cut when the plant devolpeps their first set of leaves. Usually four leaves.
Where can you buy Microgreens?
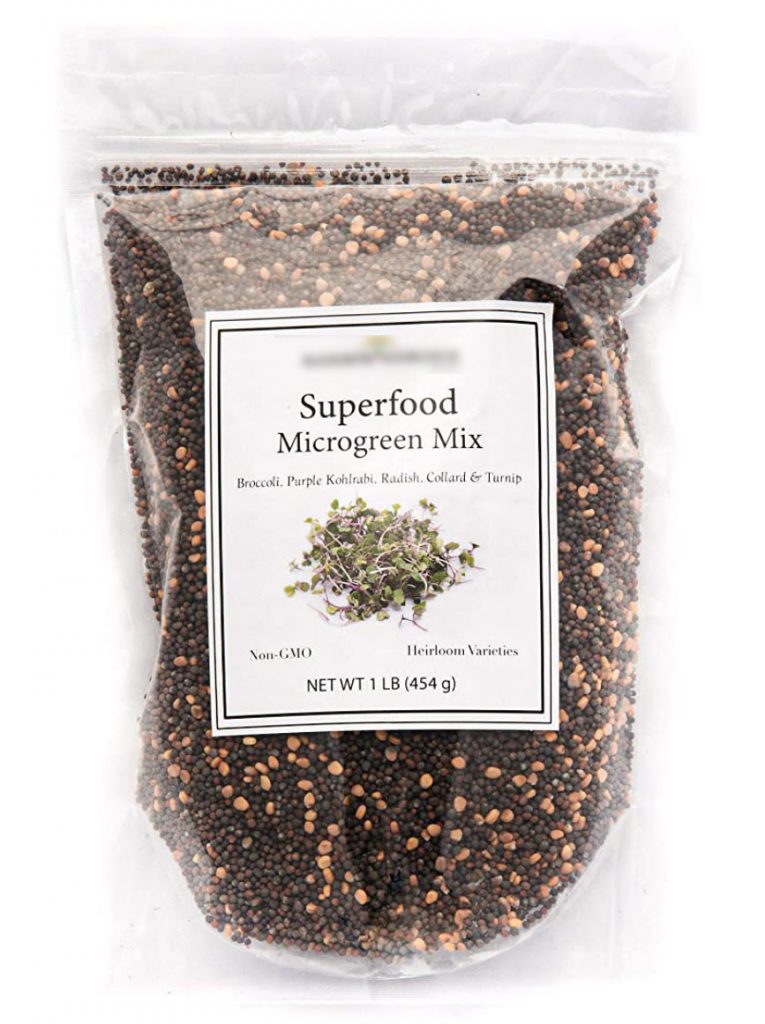
You can buy Microgreen seeds just about anywhere. You can order or pick up from your local Greenhouse stores, Home Depot, and Amazon! You’ll just need to get the kit to get started. You can order a “Wonder Soil Sprout House Kit”. This lit is intend for indoor use. You can order big packs of seeds on Amazon for indoor or outdoor uses. From the brand “Rainbow Heirloom Seed Co.” you can order all types of mixed seeds or different plants. They have a wide variety of seeds you can pick from. The prices for Microgreens vary on the type of seed and package size. The prices on Amazon range from $14.99 all the way to $1,164 for bigger plants. Like Kale, Red Russian kale, 25 Lb packages of seeds and so on.
The advantage to ordering the packs of seed is when filing in your soil pot you will be able to spread out the Microgreens over the whole tray. You will want to lay out your seeds evenly across your tray. If you don’t fill your pot with enough soil your plants can over grow and fall over and die.
How to Store your Microgreens for Later?
Storing Microgreens after you cut them is fairly simple to store. With this process you can store your Microgreens for up to a week. You will need two cold damp paper towels and a sealed container. You’ll place one of your damp Paper towels into the container. Place your Microgreens onto that layer and then place the second damp towel on top of the Microgreens. Using damp paper towels helps your Microgreens fight against any humidity. Now place into the fridge.
For best results don’t place your Microgreens next to the Cool Vent. One key tip is to keep your Microgreens covered until they touch your plate to ensure they don’t dry out during cooking or plating. Using a fridge is the best way to store your Microgreens. If not stored in the fridge it can grow mold and be spoiled within a few hours. If you need to wash your Microgreens it’s better to do this before storing.You will only wash with cold water only.
To 10 Mistakes People make Growing Microgreens?
- Your Microgreens are falling over! – One of the biggest mistakes people make when growing Microgreens is unfavorable growing conditions. It’s usually that there are not enough Nutrients in the soil, too much humidity (too high of a temperate zone), and weak lighting.
- Harvesting at the wrong times! – You don’t want to harvest wet Micro greens. This can affect the shelf life of the greens.
- Using the right amount of water! – Most gardeners think they’re going to over water their plants. You’ll want to soil them thick and water often. Basically the more seeds you add to a patch the more water you should add as well. But also you’ll want to give the plant time to collect oxygen. Your soil should feel moist and spongy, not muddy.
- Using the wrong soil mix! – Don’t use a Potting Mix for your seeds. The soil is not the same as Seed Mixes. You will want a fine seeding mix with lightweight soil and good moisture holding properties.
- Putting your seeds too far apart! – You’ll want to plant your seeds closely together. They will learn and work together to grow. Having the seeds spread out gives them the tendency to fall over. Not letting them grow to the best they can be.
- Buying Seeds by their colors! – Not every seed will grow up the same color as the seed. The seed does not determine the color outcome.
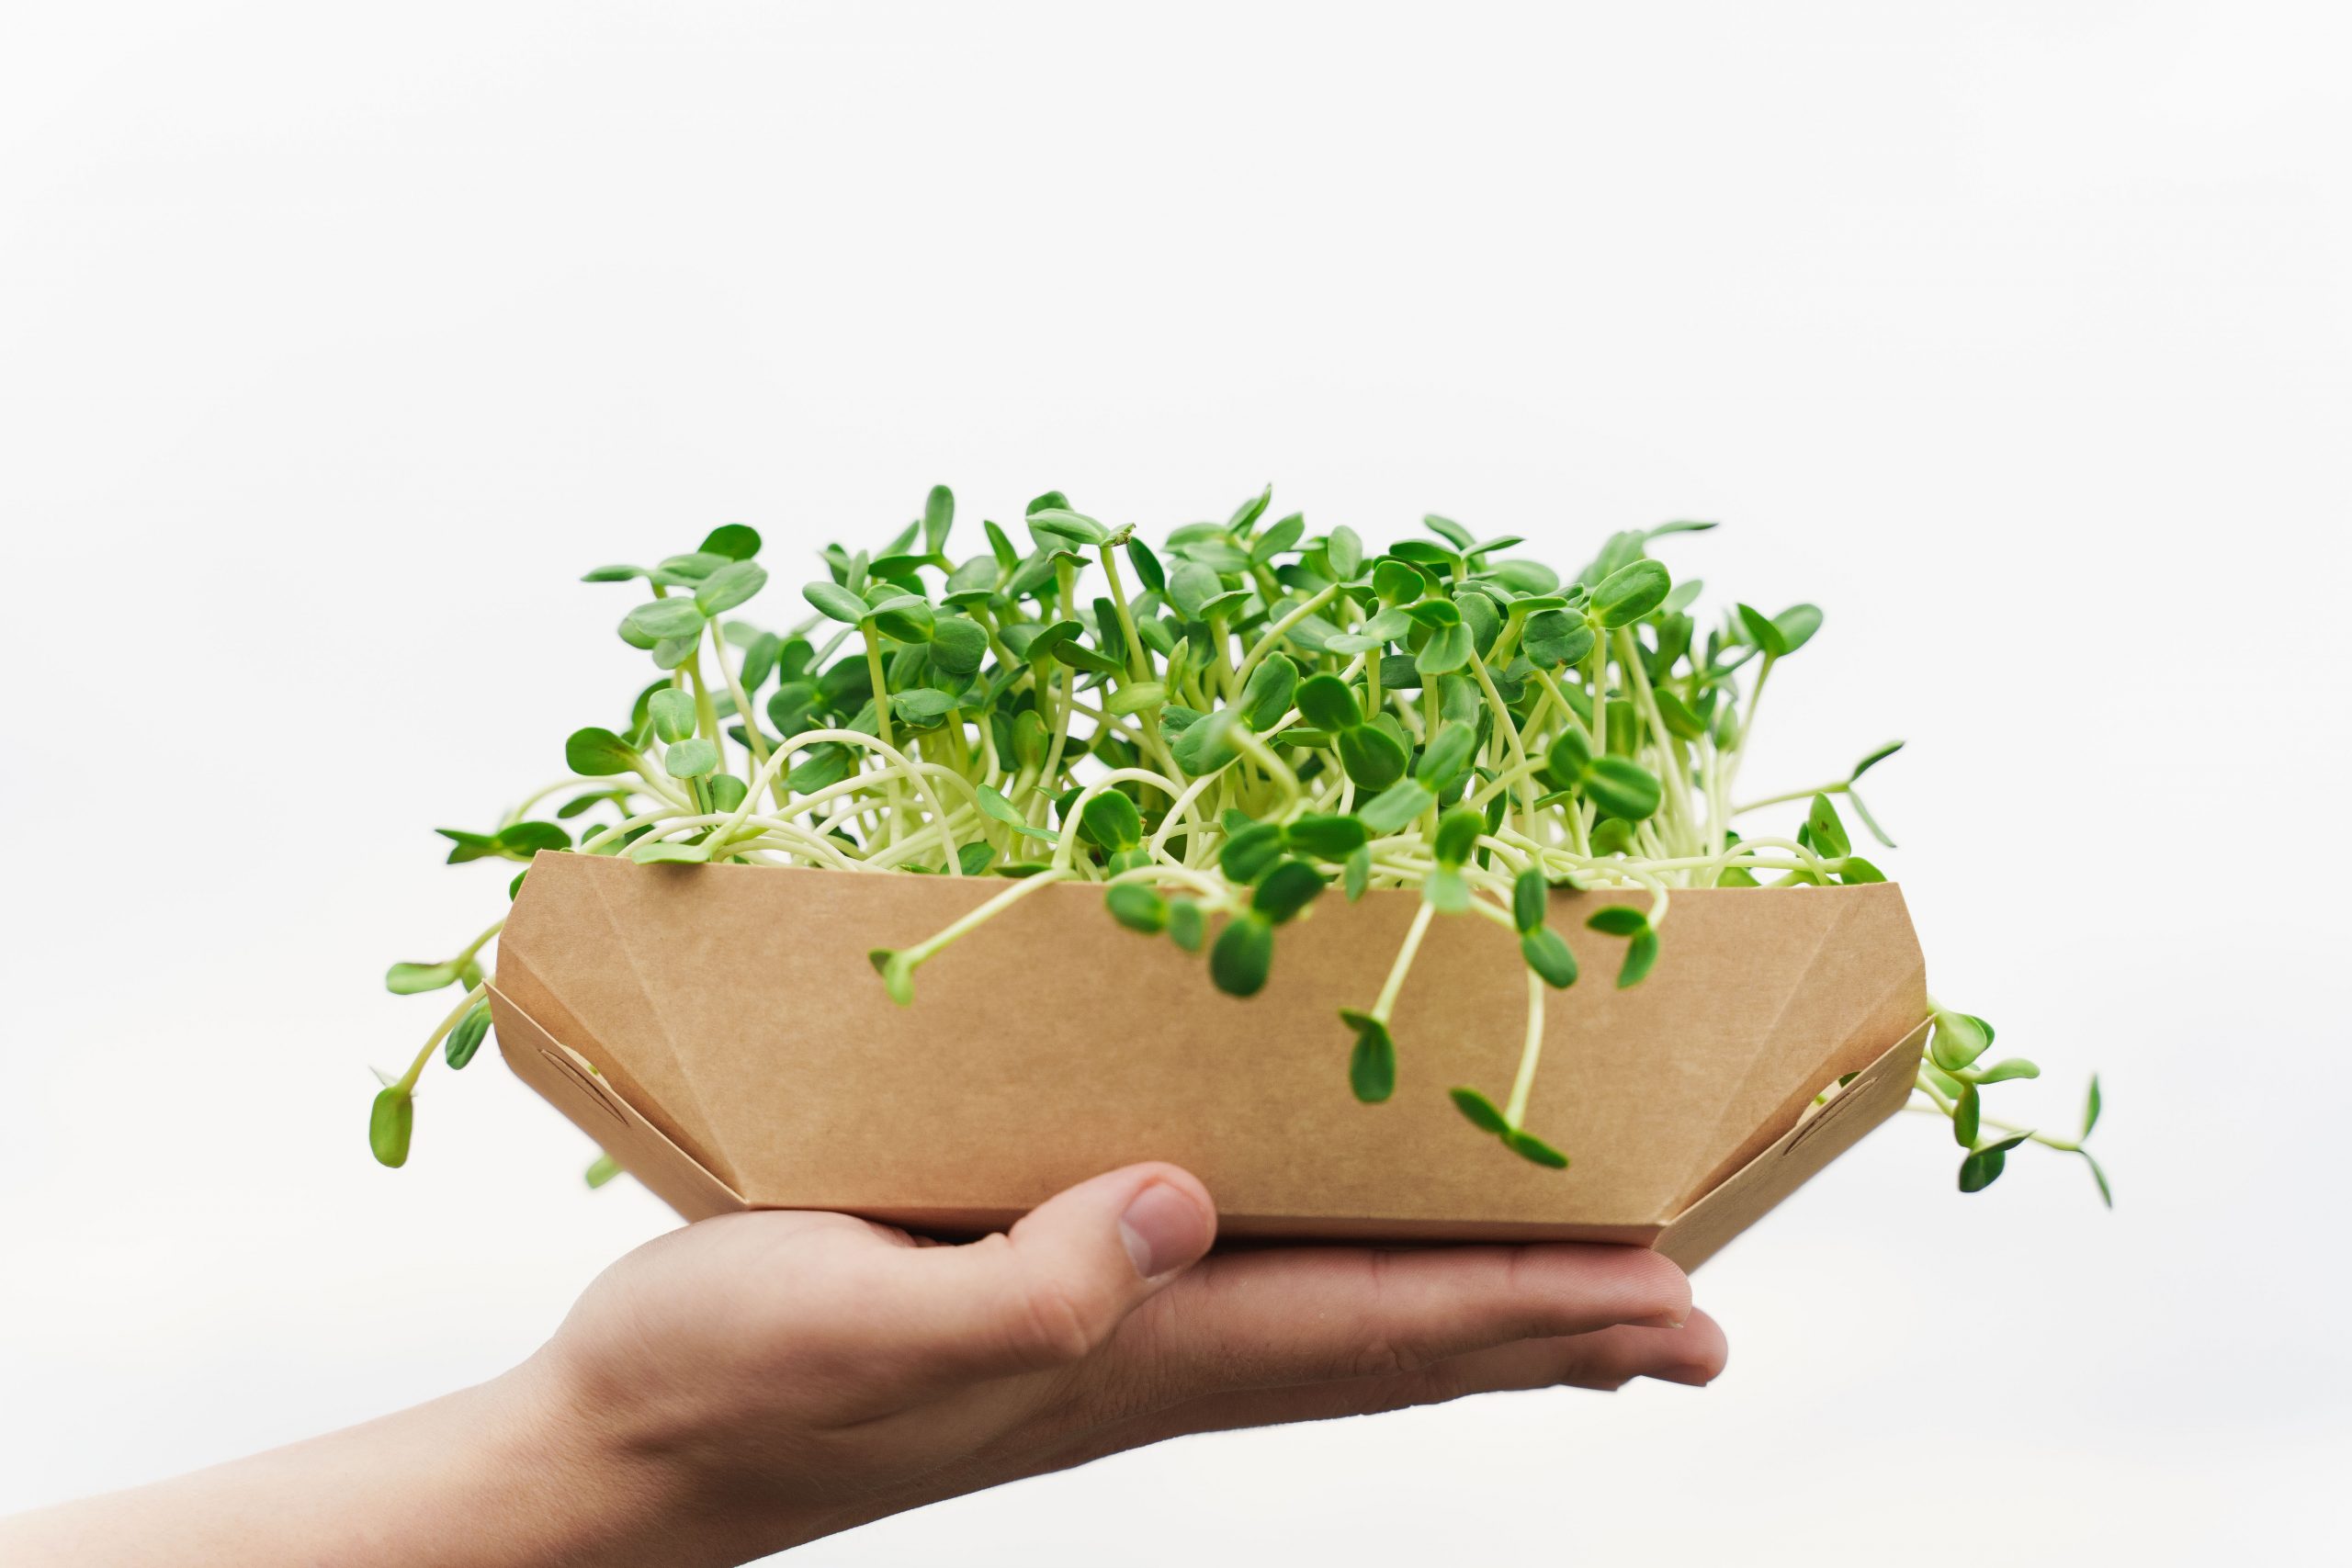
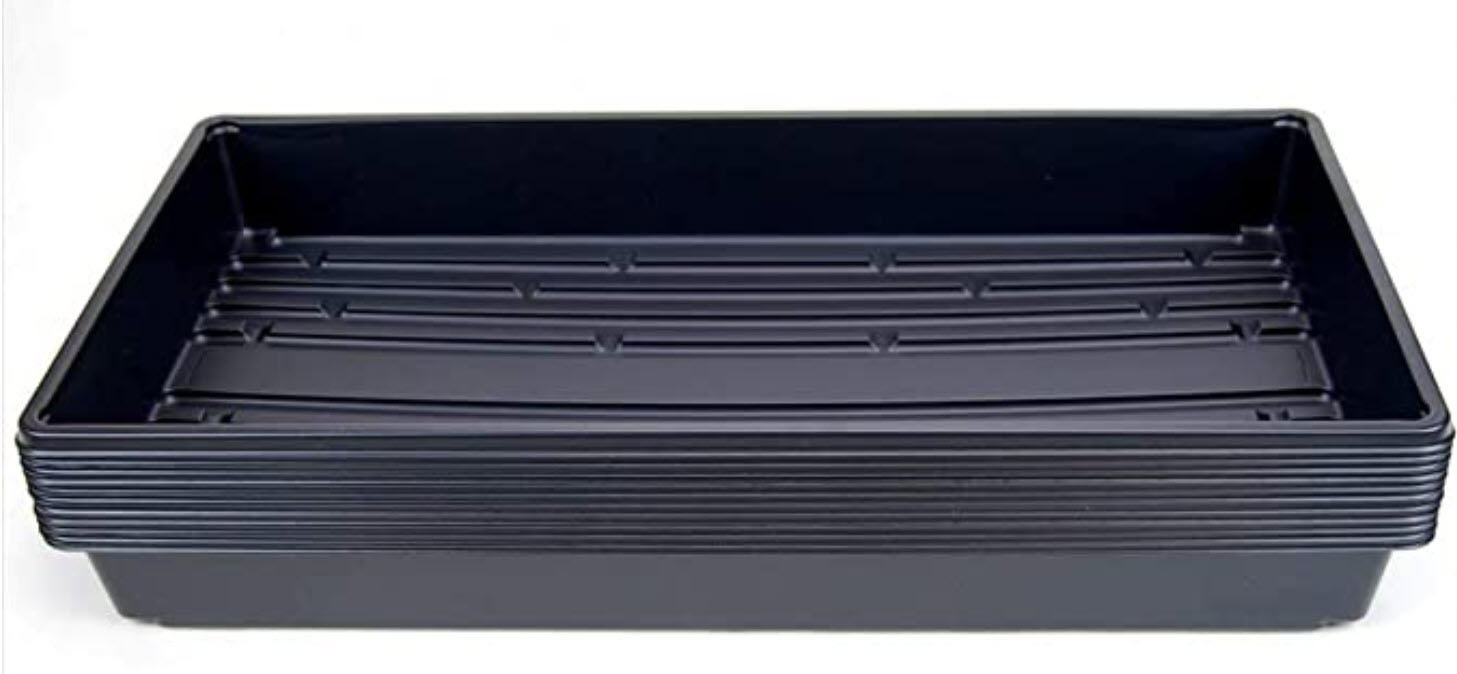
- Trays! – You will want to use a tray with no drain holes. This makes the Microgreens lose moisture. Also for beginners start with a small 20” x 10” tray from amazon. This tray is perfect for seed growing and available in multiple packs.
- Not watching your plant! – Making sure your plant keeps moisture. Keeping the lighting and air flow the same. Also checking for mold forming. Checking for leaning or looking for very weak plants.
- Not knowing if its weeds or roots! – The roots on Microgreens are white long white stringy roots. These roots have little hair sticking off them. Which is different from mold. Mold is typically white or black. It will have more of a web appencre then a fuzzy look.To figure it out just spray with water if it disappears it was just the root fuzz and if it remains it’s mold.
- Not cleaning before you start!- Just a very basic tip. Sanitize your equipment fully before starting to prevent mold growth. This will help prevent bacteria growth and microbes from infecting your plant.
How to Grow Microgreens in Soil:
Six Steps!
Getting your supplies today! What you will need is :
- One tray with Holes and Two trays Without
- Shallow Trays 20’’ x 10’’ to start off with (Sanitize with water and dishwasher sanitize setting) Bright colored Trays
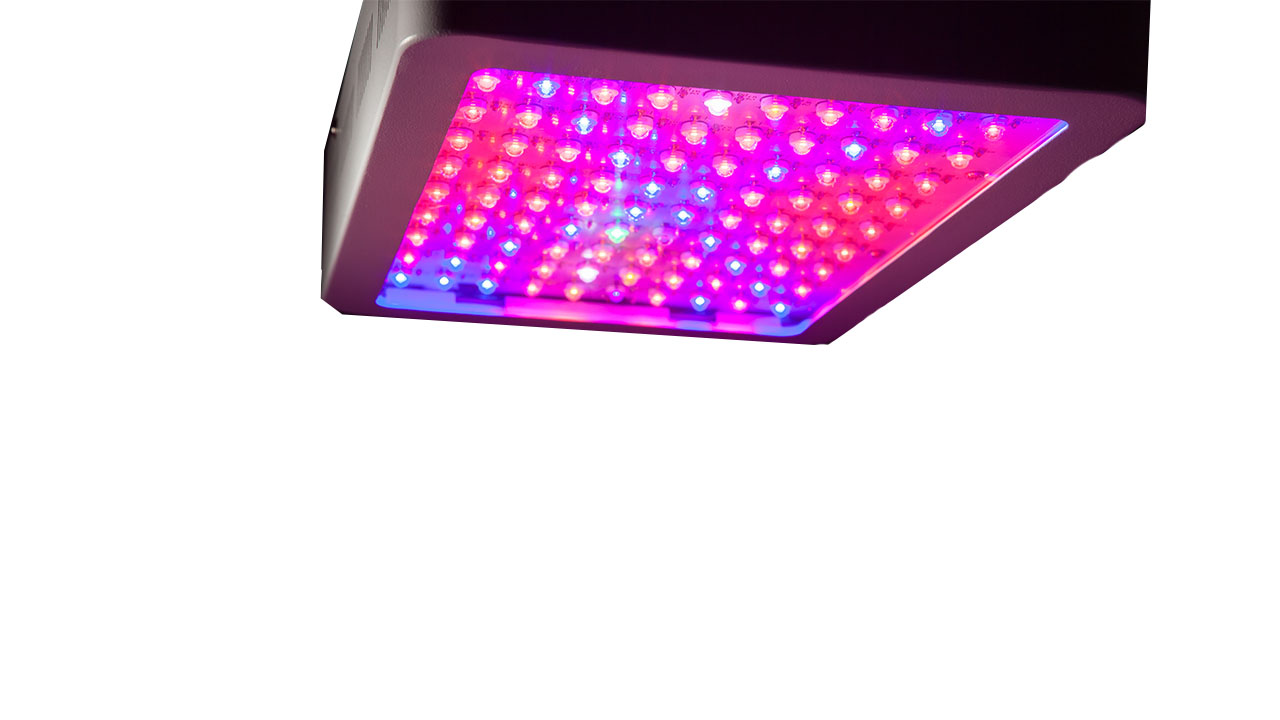
- A window that gets tons of sunlight, LED Light, or a Grow Light
- Picking out your Microgreen seeds (Make sure you have a ton of seeds for your tray)
- Organic Soil ( You’ll be filling the tray half way)
- Spray Bottle ( Filled with Filtered Water)
- FloraGro 2-1-6 (Amazon)
First you’ll want to pick out which Microgreen you’d like to grow. Even though Microgreen growing is overall fairly simple. You’ll want to start off with an easier plant. You will want more than just one pocket of seeds to help prevent falling over or weak looking plants.( Examples Radish or Broccoli) With this steep process your Microgreens should harvest in about 2-4 weeks. (This also varies on the types of Microgreen you’re trying to grow)
You’ll want to cut your plant right above the soil at harvest time if you want to regrow. (With Flower or Kitchen shears) Doing this all at the same time ensures it stays on the same day pattern of growth.

Step Two:
Once you have your lighting arranged. You can add your tray under the light. Grab two trays of the same size and fill the one without holes with one cups of water and place it on the table. Then grab a tray with hole. Then move on and grab your mixed planting soil. Make sure this soil has no wood chips. (This will make it harder for the plants to germinate)
Then fill your tray about half way full of soil. Make sure your soil is packed flat. For the best results we suggest using “Miracle Gro” Potting Mix from Amazon. Doing this will help ensure your plants don’t grow at an angle and fall over. The trays you will need is the shallow 20” by 10” tray. You can get this tray on Amazon.
Step Three:
Now it’s time to lay down the Microgreen seeding mix. You can find a great variety pack on Amazon for less than 30 bucks. You will want to spread your Microgreen seeds evenly over the soil covering the whole plot.
Doing this will help the growing process. The plant will harvest quickly; you’ll want to get as much as you can from each growing period.

Step Four:
Once the seeds have been laid down. Making sure it’s flat. Grab your spray bottle with Filtered water and give yours Microgreens about 2-3 Sprays. Now each day a couple times a day mist your Microgreens with your Filter water. Keeping the soil evenly watered. Now cover your Microgreens with the second tray leaving them to germinate.
This process can take about 2-4 days to fully germinate. Meaning its starting life. Putting its roots down into the tray. Now set your trays aside and wait for tall green leaves to sprout up.
(Mini Tip: Lay an extra on top of your microgreen stack and lay extra weight on top to give the plant the impression that it’s underground. Even though the seeds are on top of the soil.)

Step Five:
Once you notice the tray being lifted that’s a good sign of high germination growth. Looking at the Microgreens and how they sprouted up with yellow coloring that’s okay. If you don’t see the green or sprouts. Keep the covered and weighted for about one more day and check in again. ( Also check the weight of your plant trays by lift gently. If lighter add a little extra water for the soil to grab onto.)
Step Six:
If your plants are growing strong it’s time to move onto the lighting. It’s time to uncover them and move them into your Grow Light (or LEDs or Sunlight/Outdoors). Using a light will give you more control over the crop. You will want to place the light fairly close to the crop without overheating your Microgreens.
Doing this will ensure the plants won’t have to stretch for light. The crop will be very hungry for light. Now this is where your plants will start to grow into full harvest. Some plants will bloom fairly quickly.
When your Plants are ready to be harvested. Cut right above the soil line to get less dirt on the ending crop.
If you’d like to learn how to grow Microgreens hydroponically. Check out the blog below on the step by step Process.