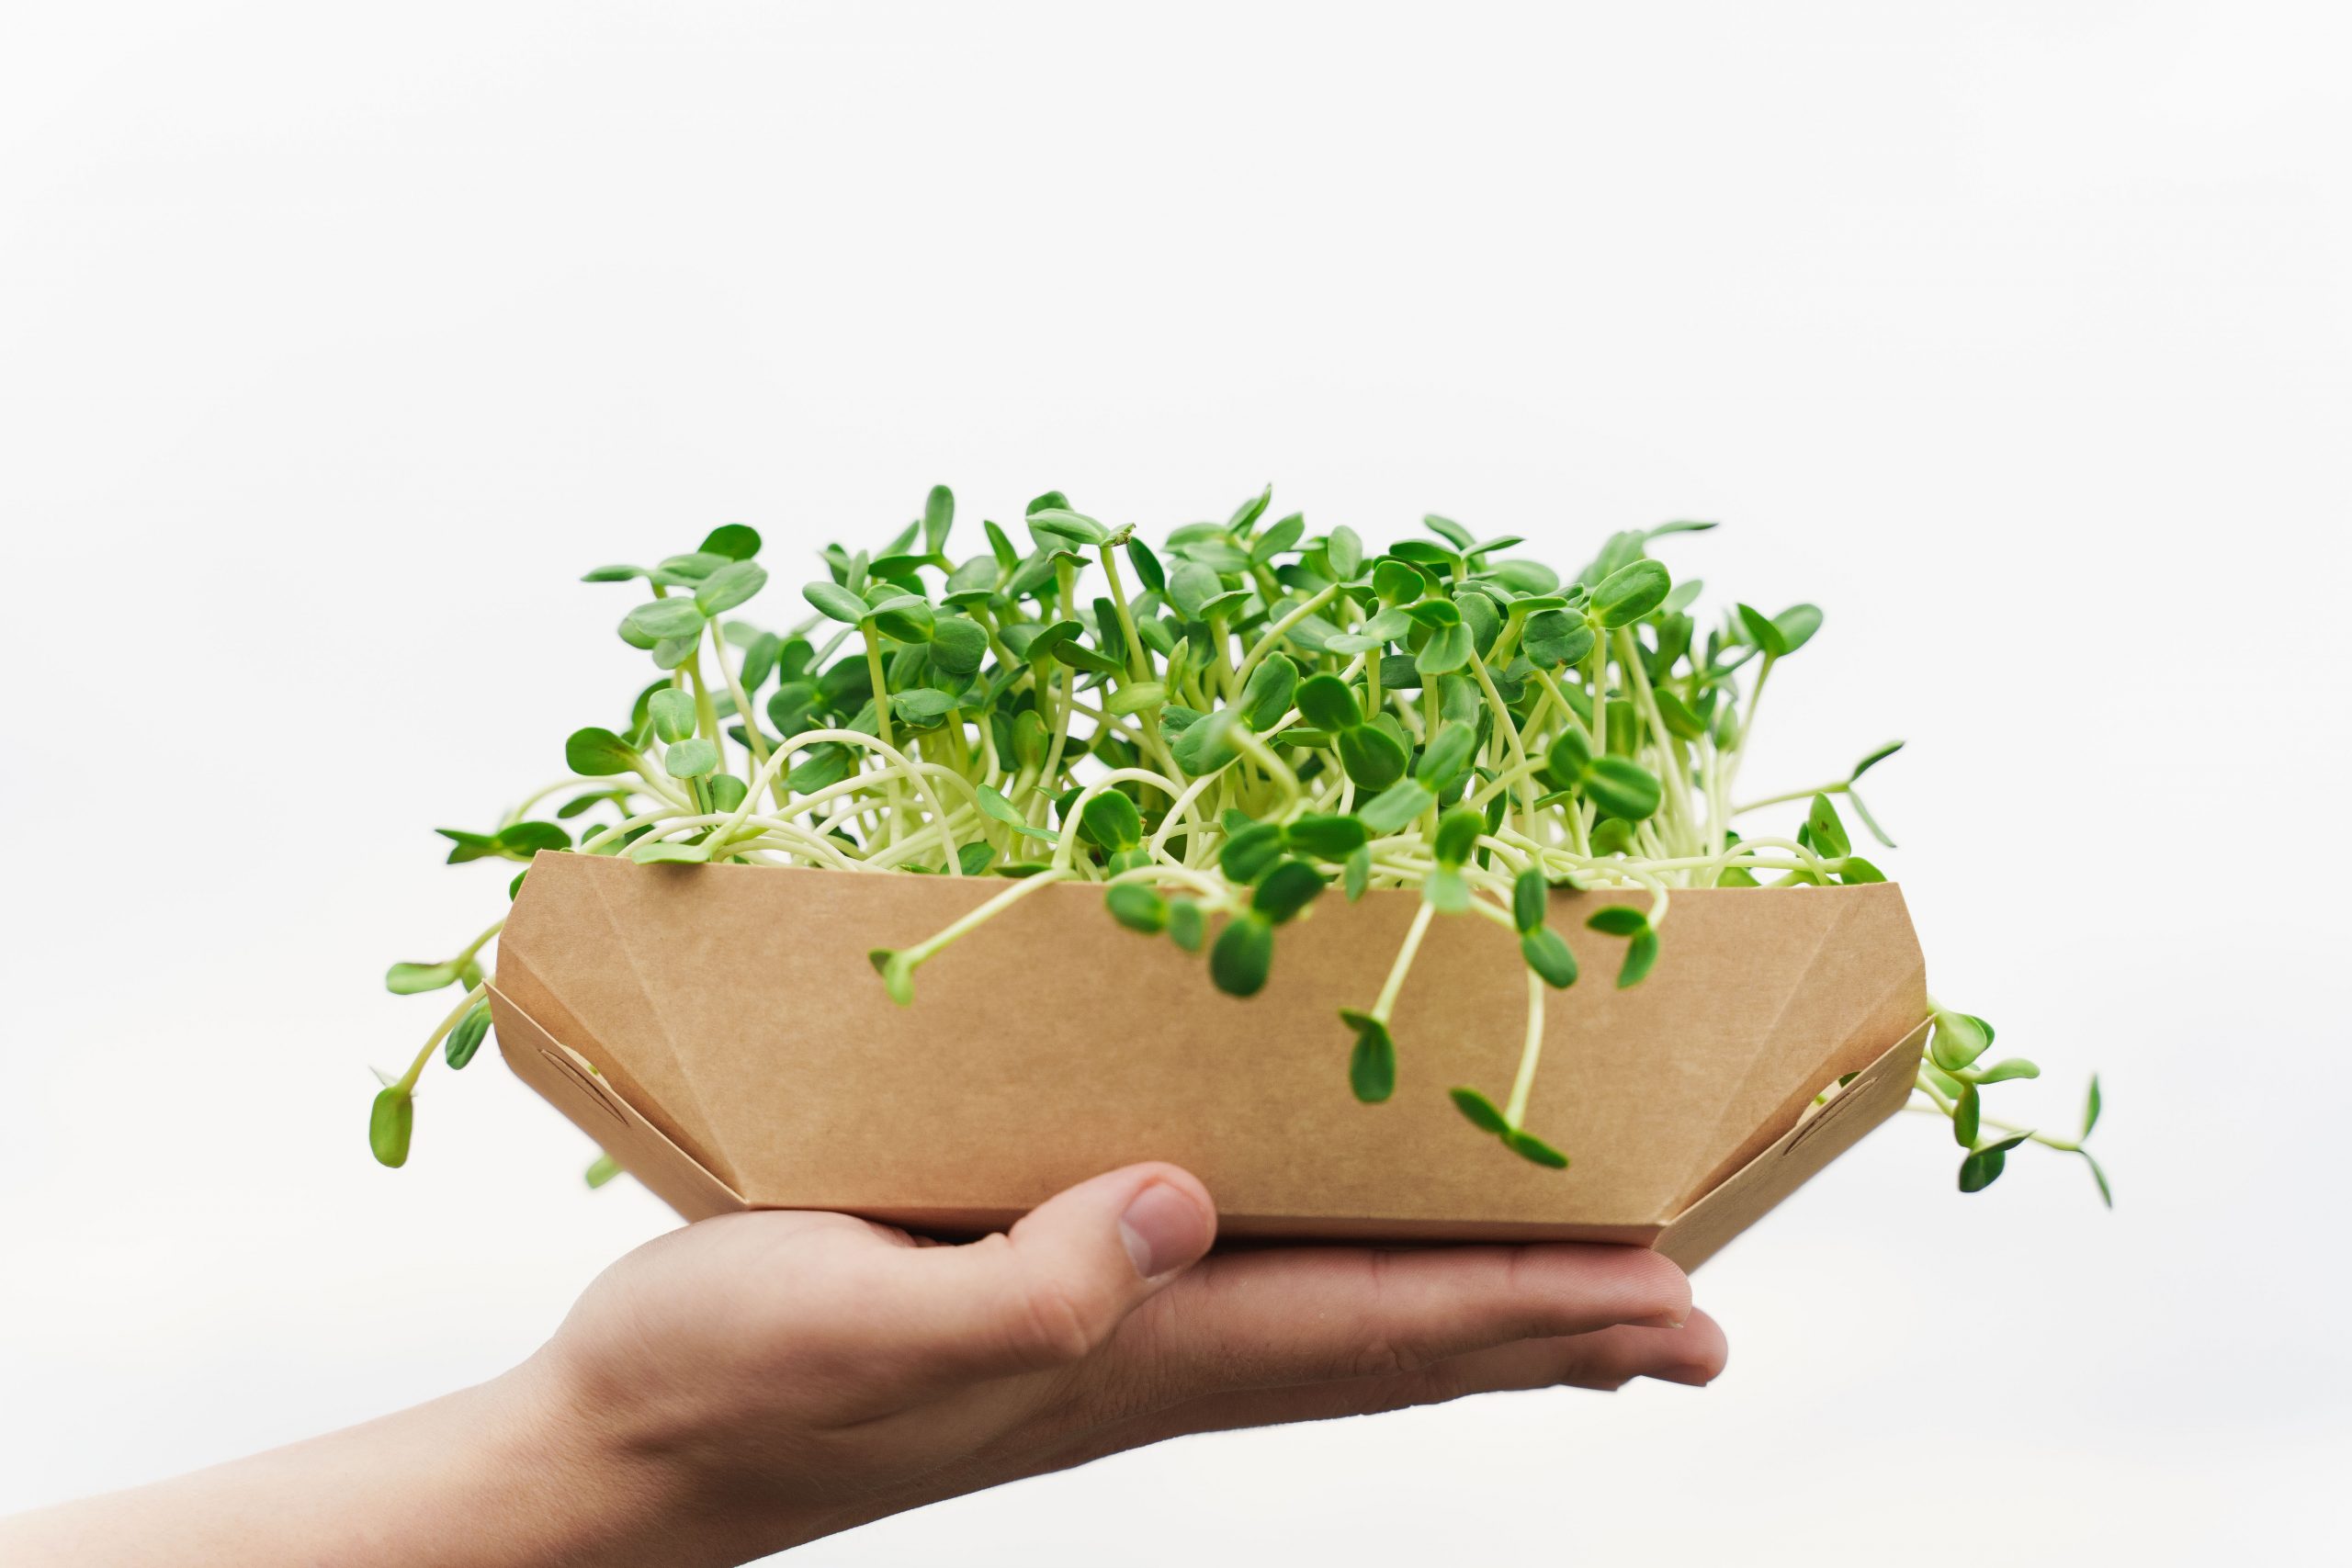
Grow Microgreens Hydroponically in 10 Steps:
Here’s the question “Why grow Microgreens Hydroponically?”. That’s a fairly simple answer. With Hydroponic growing it’s a less time consuming project. This kind of project will help use less water, you can grow absolutely anywhere, no mess with soil. It’s also known that some Microgreens actually grow better Hydroponically.

The supplies you’ll Need for your Hydroponic set up:
- Growing Trays 20” x 10” ( 2 Without Holes Trays of the same size) or Hydroponic Growing System
- 20″ x 10″ Mesh Tray
- Microgreen Seeds ( At Least 2 oz’s of seeds)
- Growing Lights or LED Lights
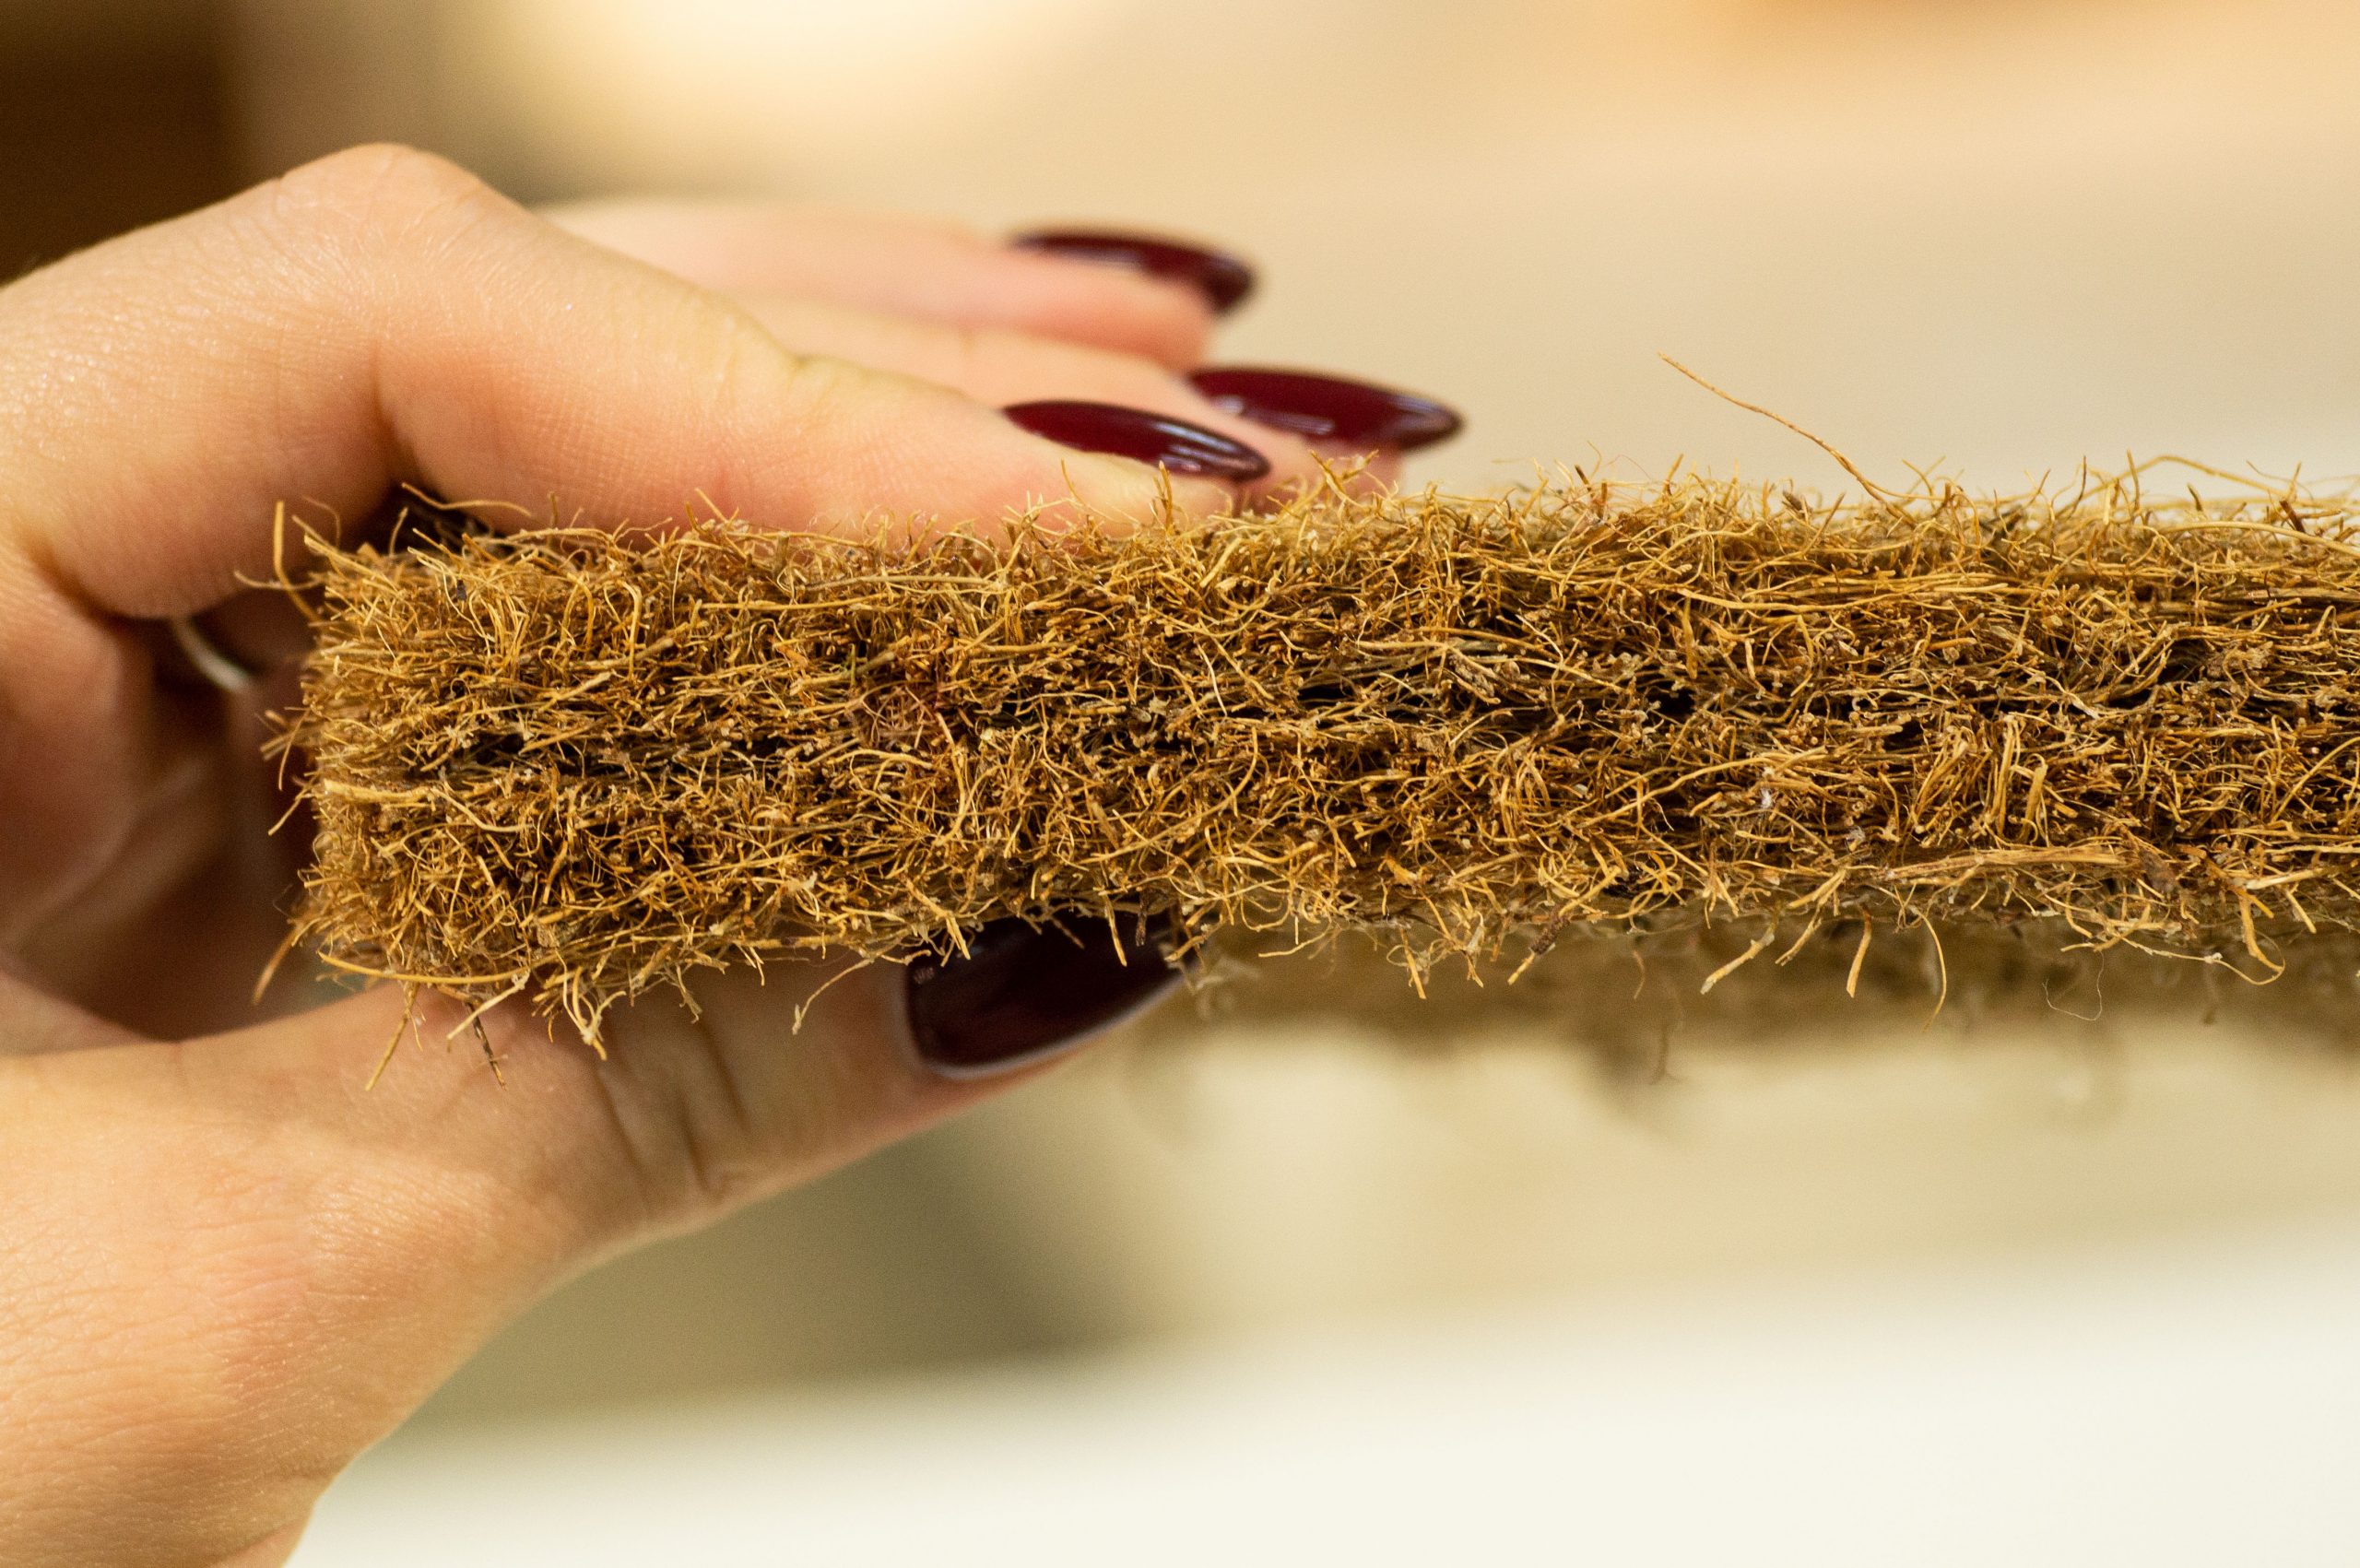
 Growing Pads
 - You will need a Growing Medium (Coconut Coir is most common)
- Spray Bottle
- Plant Nutrients (Ocean Solution 2-0-3 or AeroGarden Liquid Plant Food)
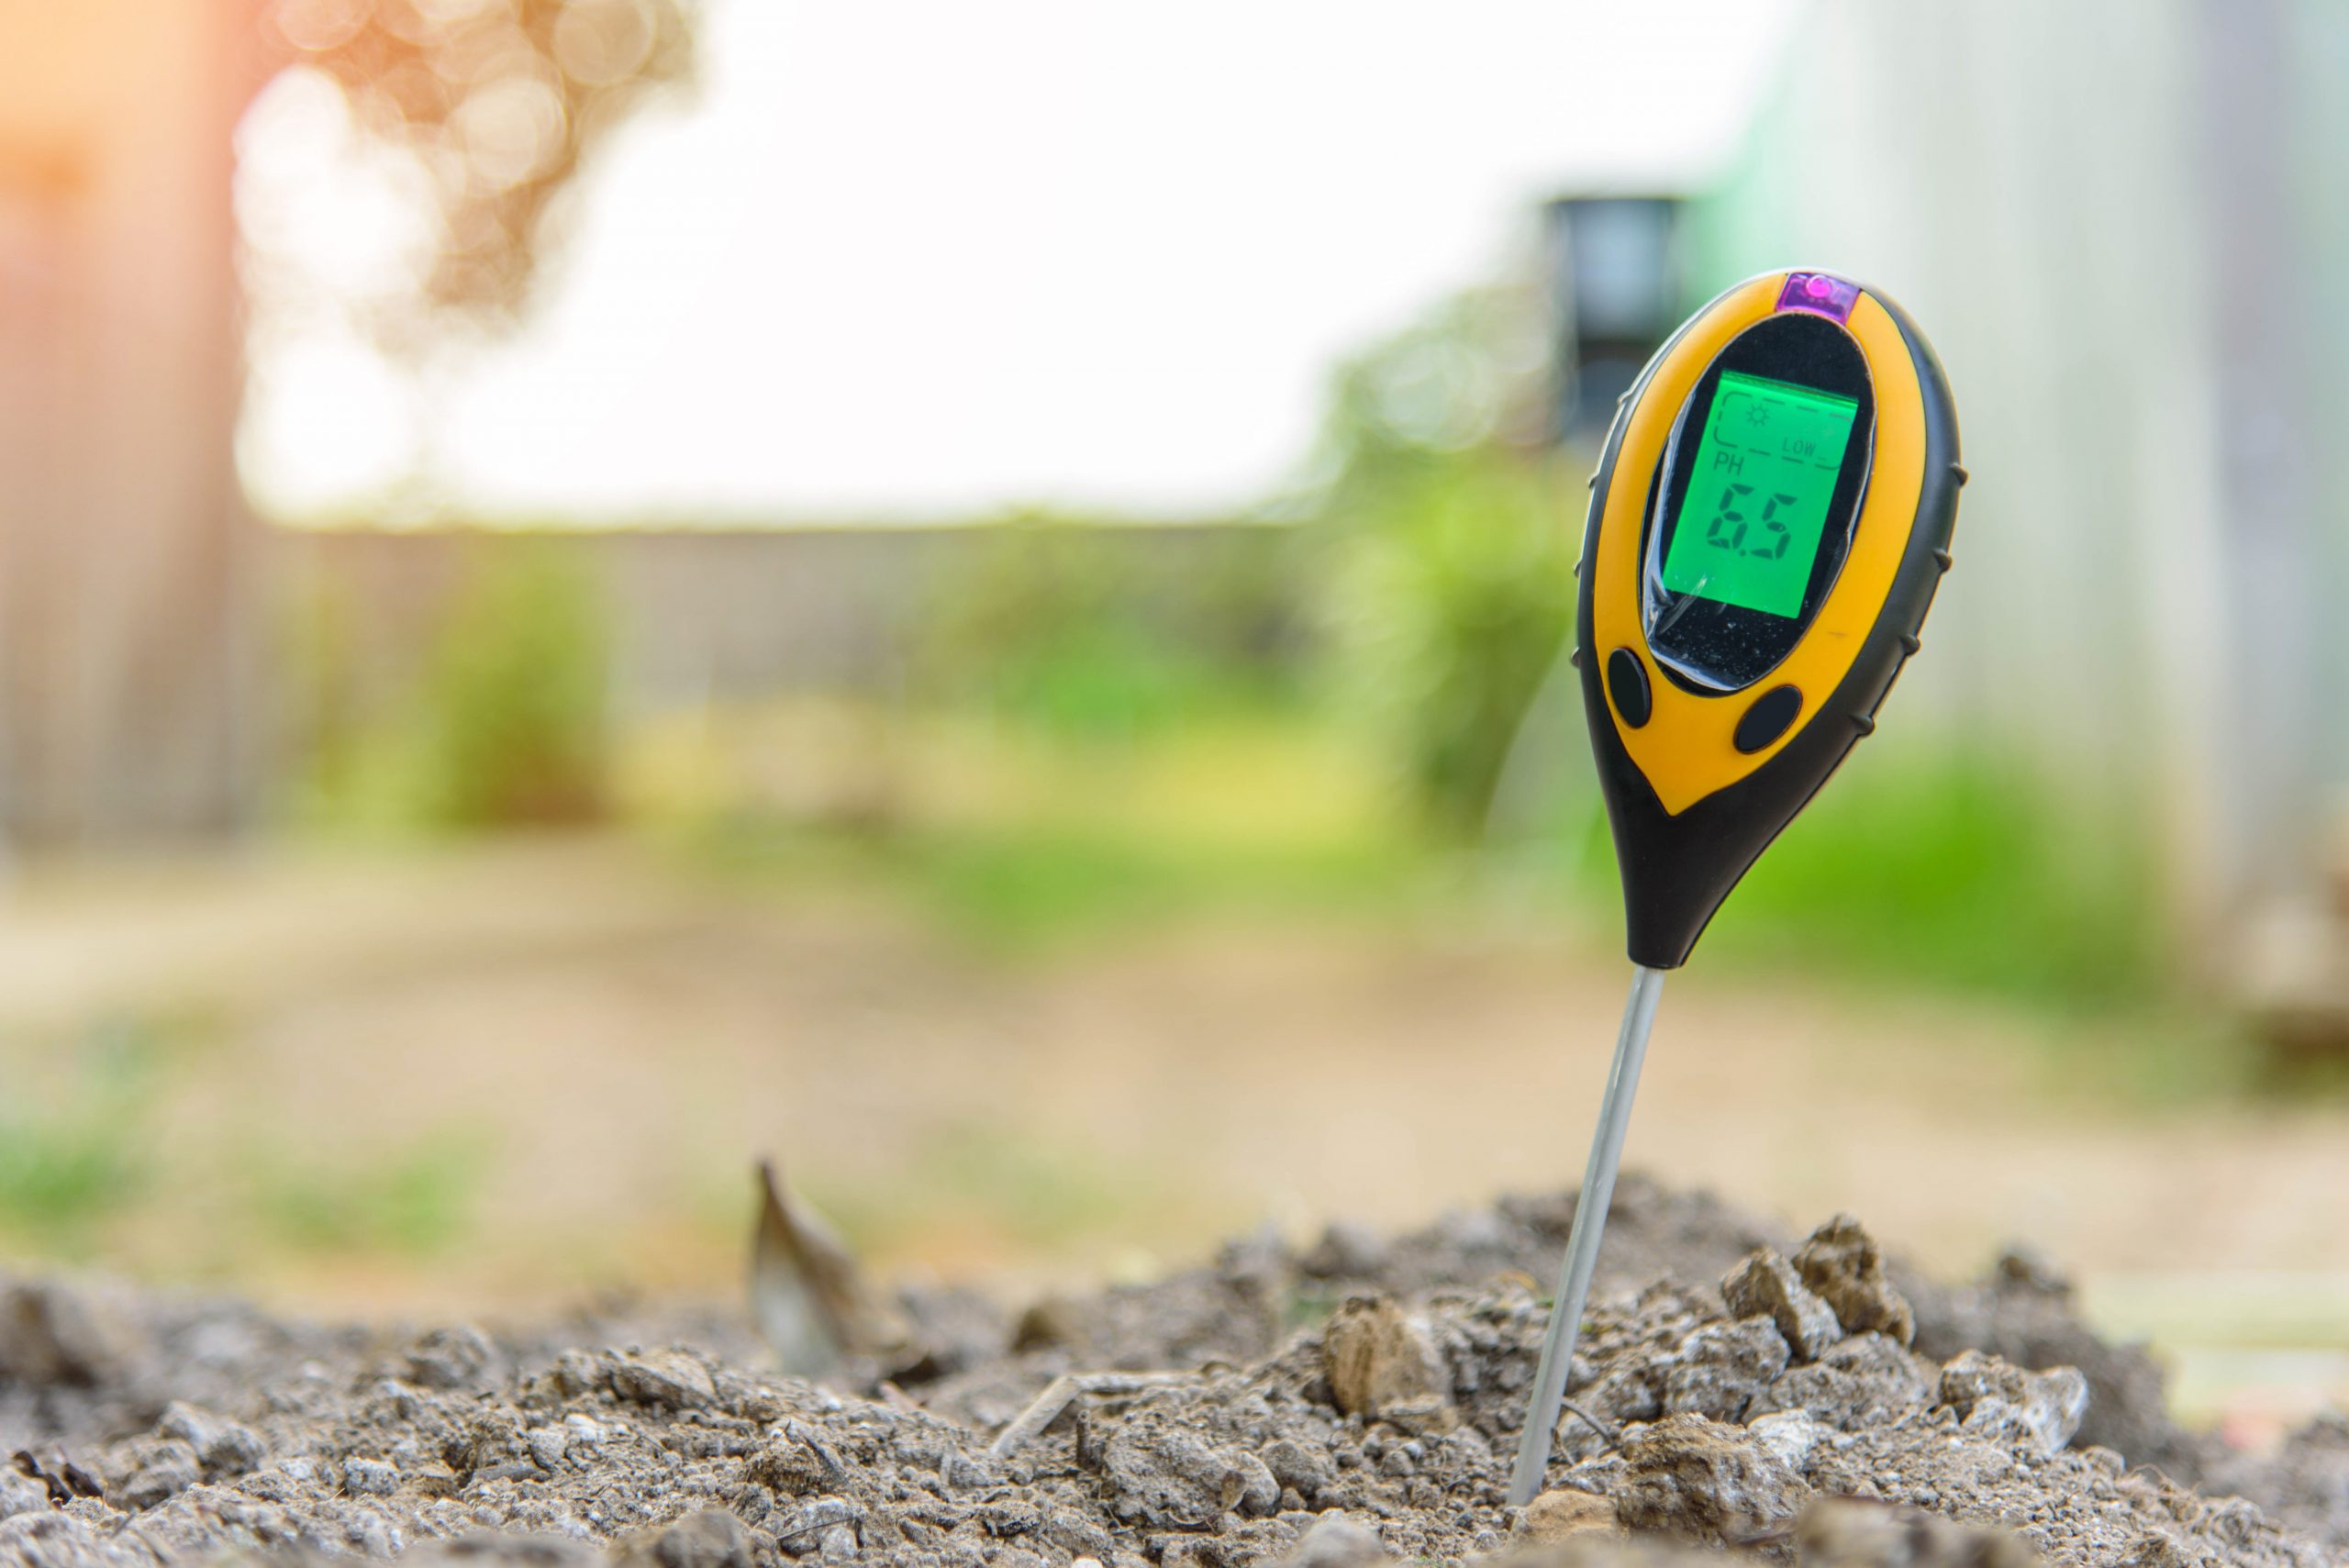
- pH Testing System
- pH level Water 5.5-6 level
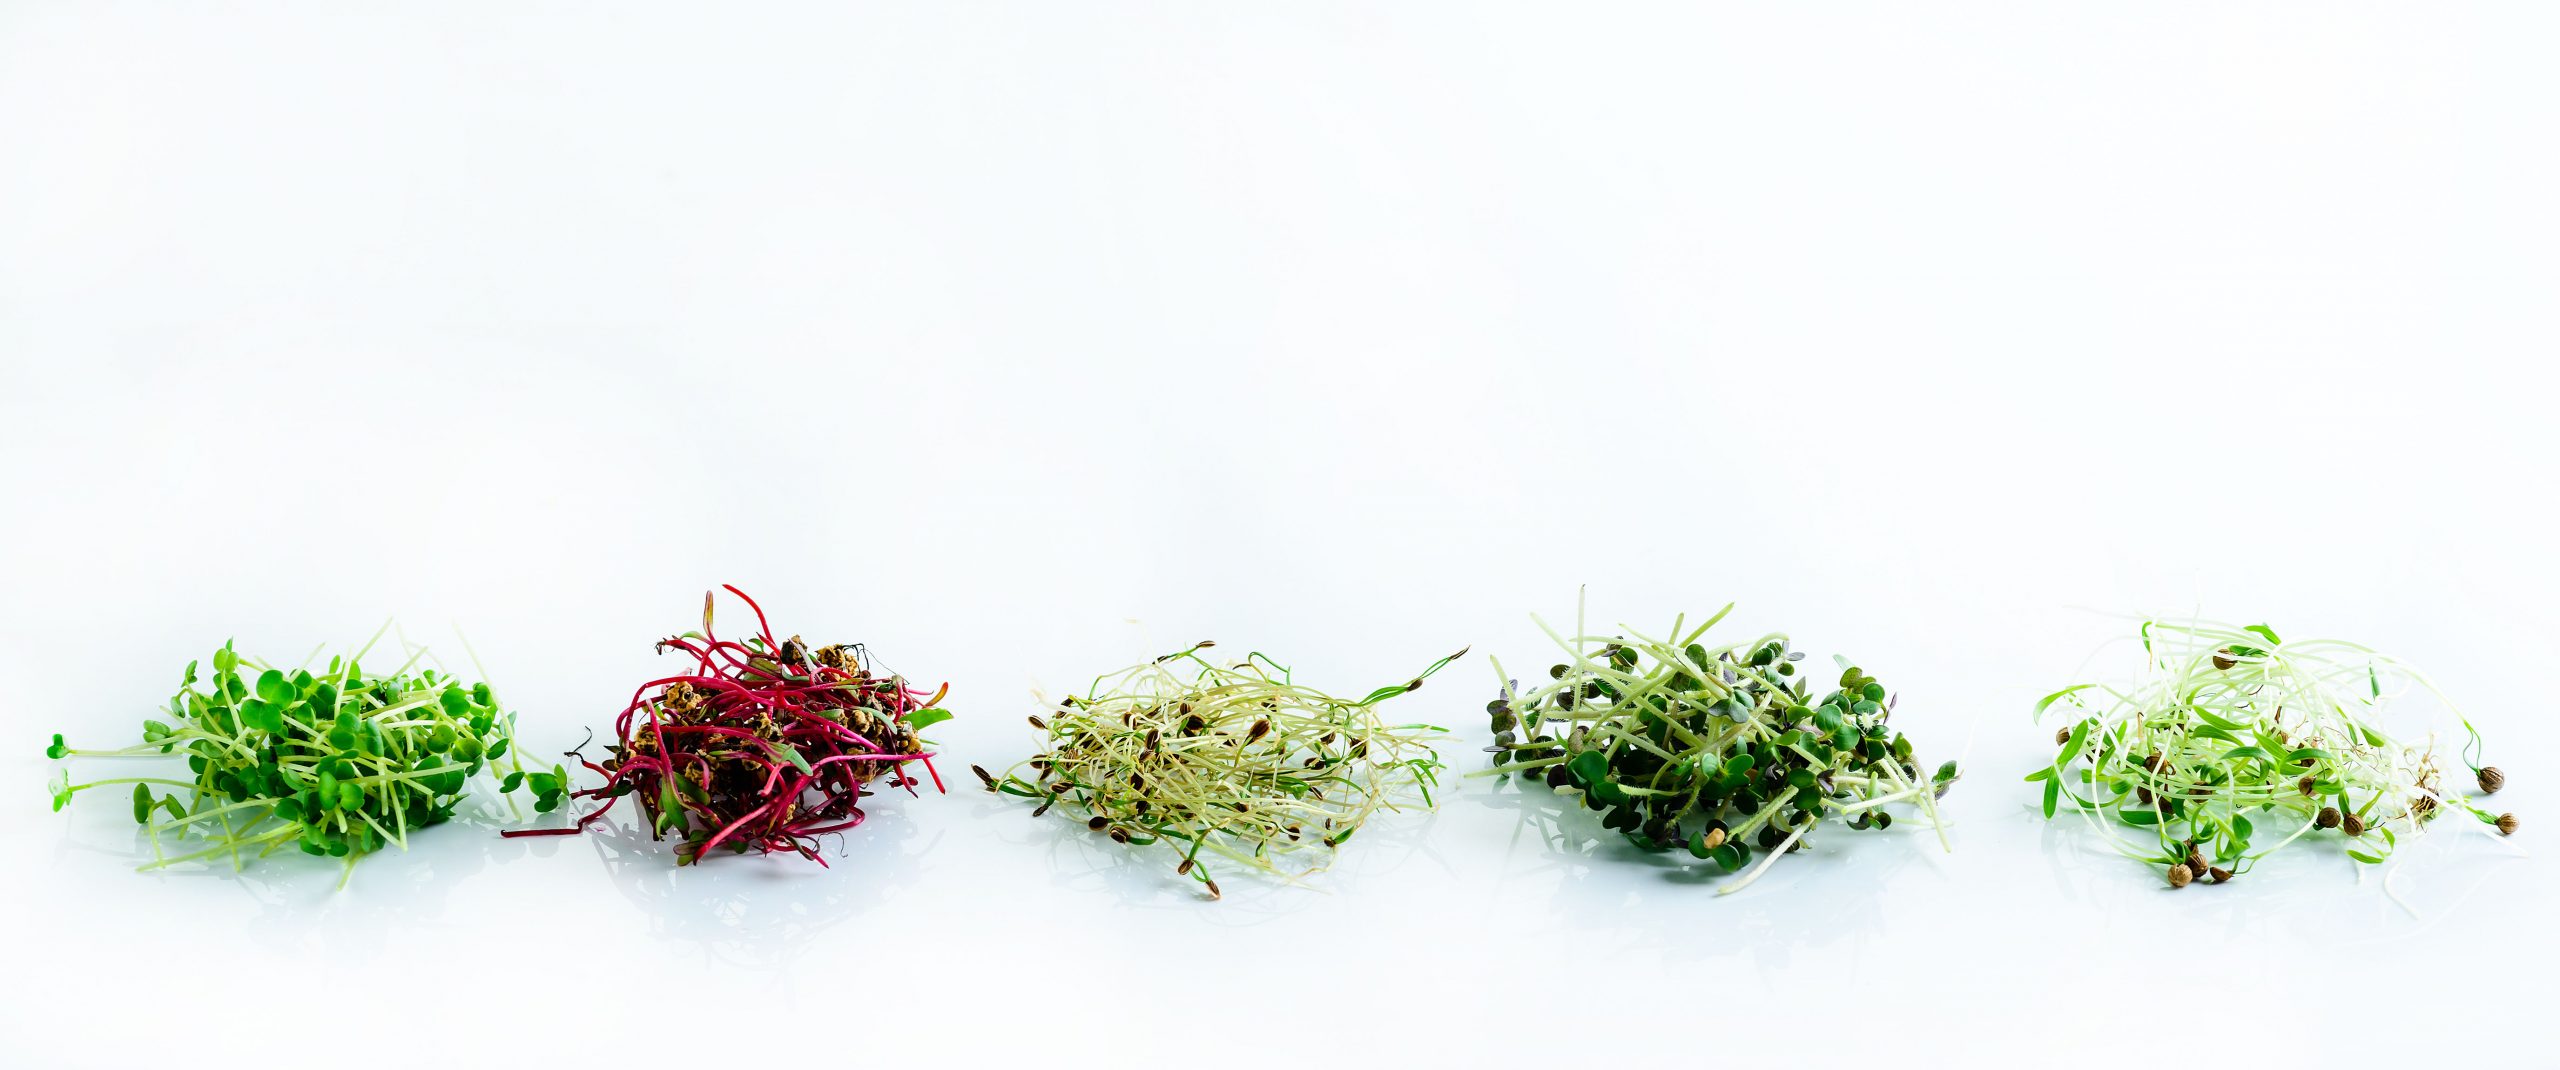
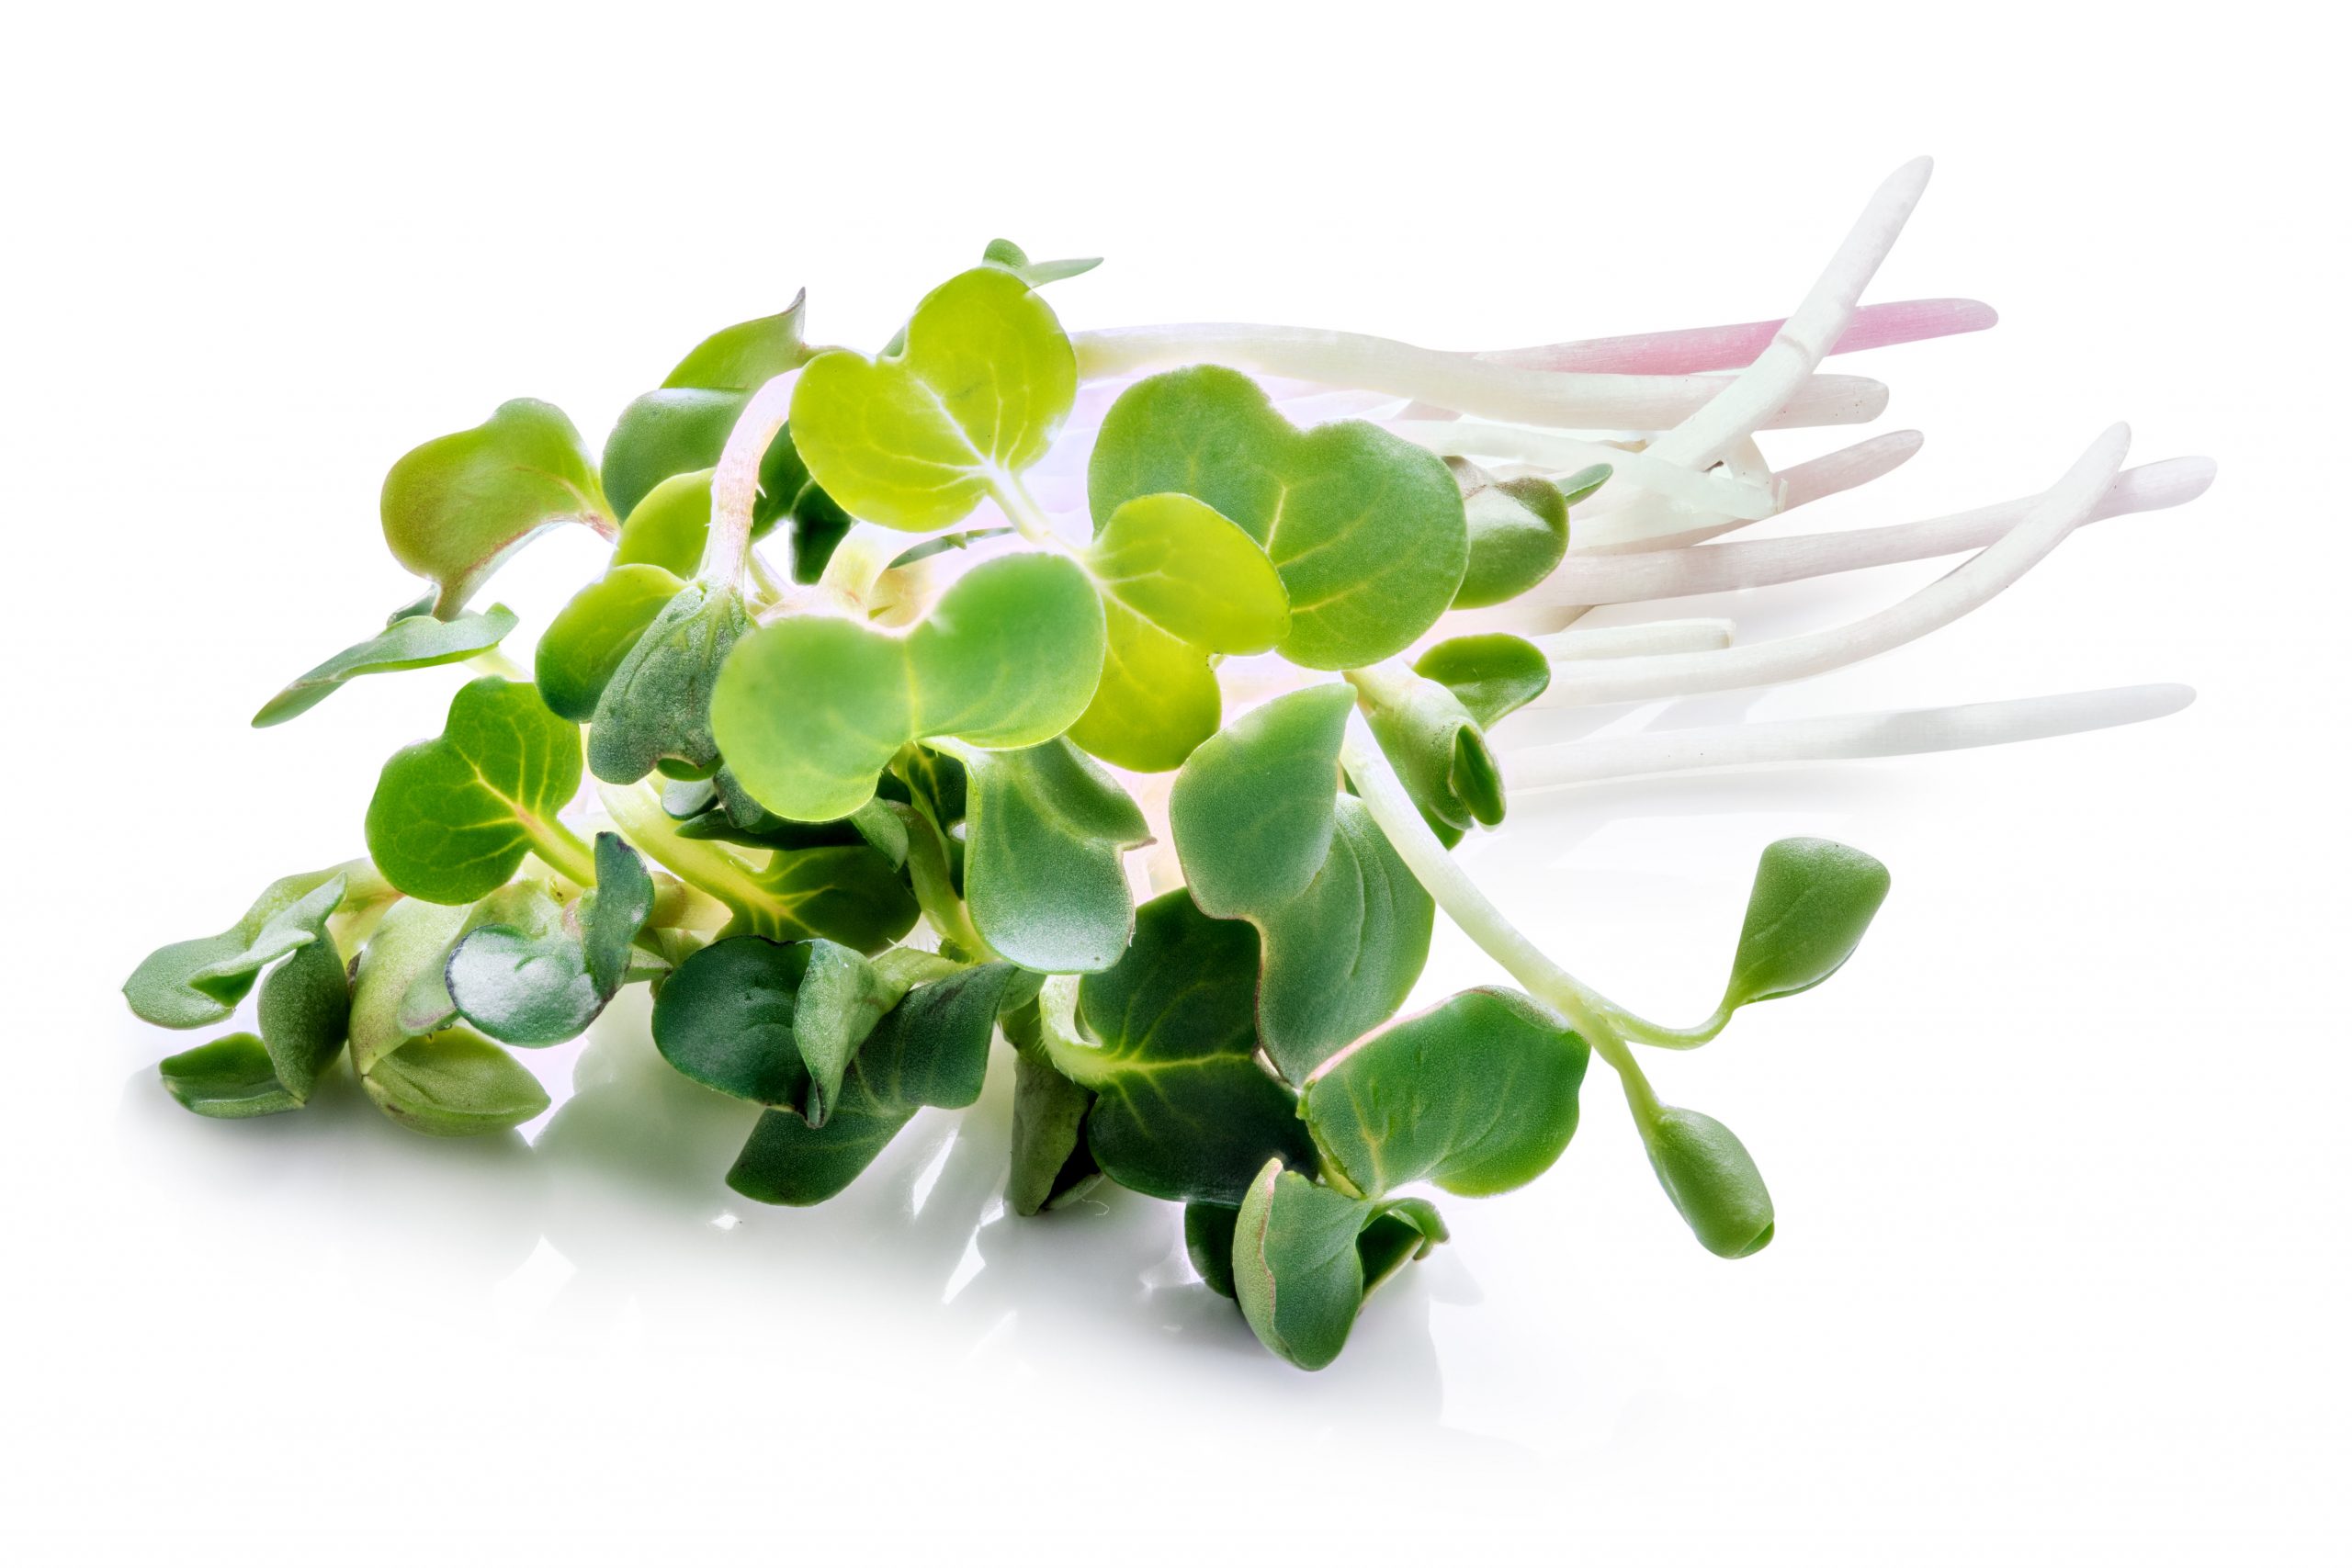
Now it’s time to pick out the type of seed you’d like to grow. Deciding this first will help you determine the size of lighting space you’ll need for your plants. If this is your first Hydroponic set up, start with something easy like broccoli or Lettuce. Place your tray somewhere where it won’t get too hot.

Now it’s Time to Grow Microgreens Hydroponically!
Step One:
Now it’s time to get started with your pH balanced water. You will fill your tray with two cups of water. Make sure the water is evenly distributed between all the pods if you’re using a tray instead of a system.
Also it’s time to add two cap fulls of Plant food Nutrients to your water mixture. Make sure to shake the Nutrients before using.

Step Two:
Now it’s time to lay down your growing pads. Making sure the underside is fully saturated. (Move the tray slowly around to help saturate the growing pad faster).
You will also want to grab your spray bottle with filtered water and the correct pH levels. Then spray onto the Growing Pad about 10 times. You wanna make sure there’s no dry spots left. (Also make sure your tray is laid completely flat for better seed growth.)
Step Three:
It’s time to spread your Microgreen Seeds. Depending on what kind of Microgreens you’re using it can be from 1 oz – 2 oz’s.
Reading the instructions on seed packages will help you determine the amount to use. You will want to cover your tray evenly from corner to corner.

Step Four:
Since the seeds have been laid out and even covers the tray you can apply about 10-12 more sprays of your correct pH level water. Making sure the seeds are soaked evenly.

Step Five:
Grab your extra same sized tray and mist it 4-5 times with the filtered water. And cover your first tray. This will act as a humidity dome. If you have multiple trays you can stack four on top of each other. Giving that dark area for germination to process.
Step Six:
Open your tray every 12 hours and mist about 5 – times. Only water this way with your pH leveled water. After spraying your tray properly, recover your plants. You will want to use an LED Light when the plants are not covered by the second tray.
Step Seven:
In about 4-5 days your plants should be ready to be uncovered from the germination period.
It’s important to keep your plants in the dark check only when it’s ready to water the plant. You can determine when your crop is ready by the amount of baby leaves blossom.
Step Eight:
Check Your plants daily. Check your pH levels of the water for the correct levels of 5.5- 6. It can’t be lower or higher. The soil should always be properly damp. To change your pH level you can use pH level Up or Down.
Step Nine:
Now it’s time to Harvest your Microgreens!
Your Microgreens shouldn’t take more than 10 days to reach harvest depending on the Seed Packet. Keeping them longer then that can result in a a over grown plant.Keeping them longer can cause them to start to fall over. You’ll want to keep your plants in a cool area once harvest. If kept too warm they will begin to wilt.

Step Ten:
Now that your plants are Harvested. It’s time to cut them. You will cut right above the soil line. Cutting your Microgreens is simple, all you need is a sharp Knife and a bin. Slowly cut the Microgreens at a slight downward angle.
If any of the growing medium gets on your crop slowly dust off or simply cut the stem.
Then place in small portions into a bucket. Use a scale to measure out your Harvest. I recommend doing this at least on your first bunch as an estimated guess of how much you will get per harvest.