Do you love adding herbs to your meals, but don’t have time to run to the store? Or the selection doesn’t look as fresh as you want it to be? Are you tired of buying herbs from the store only to have them wilt and die within a few days? Did you know that you can actually regrow many herbs from the store and have a never-ending supply of fresh herbs at your disposal? Here’s a step-by-step guide on how to regrow herbs from the store!
Have no fear! This blog was designed to specifically help you to grow your own herbs hydroponically!
Benefits:
– You can save money by regrowing your own herbs from the store.
– You’ll always have fresh herbs on hand for cooking and garnishing.
– It’s an eco-friendly way to reduce waste by reusing the stems and roots of store-bought herbs.
– You can grow a variety of herbs in small spaces like windowsills, balconies, and indoor herb gardens.
– It’s a fun and easy activity for the whole family to enjoy.
Step One:
Go to the store! How are you going to regrow herbs from the store, if you haven’t bought any to begin with!
Note: You will want to look at the leaves and stems before you purchase the herb. Make sure that the leaves are still green, and that there are no black spots before you buy it.
If the tips of the plants are brown, then you will need to cut off the ends to be able to regrow them properly. It will help with the speed and quality of the growth.
Cheap alternative: if you ask an employee for herbs that they will be throwing out because of the expiration date, they might be able to give you some herbs for free! As long as the leaves and stems look fine, they should work even though they have “expired”!
Step Two:
Purchase some Rockwool to place your plants in. Also, a bin or container for the rockwool and plants to go into to absorb the water and nutrients.
Step Three:
Check the pH balance of the water. It should be a pH of 5.5. Then, drop the Rockwool into the water with the pH of 5.5.
Step Four:
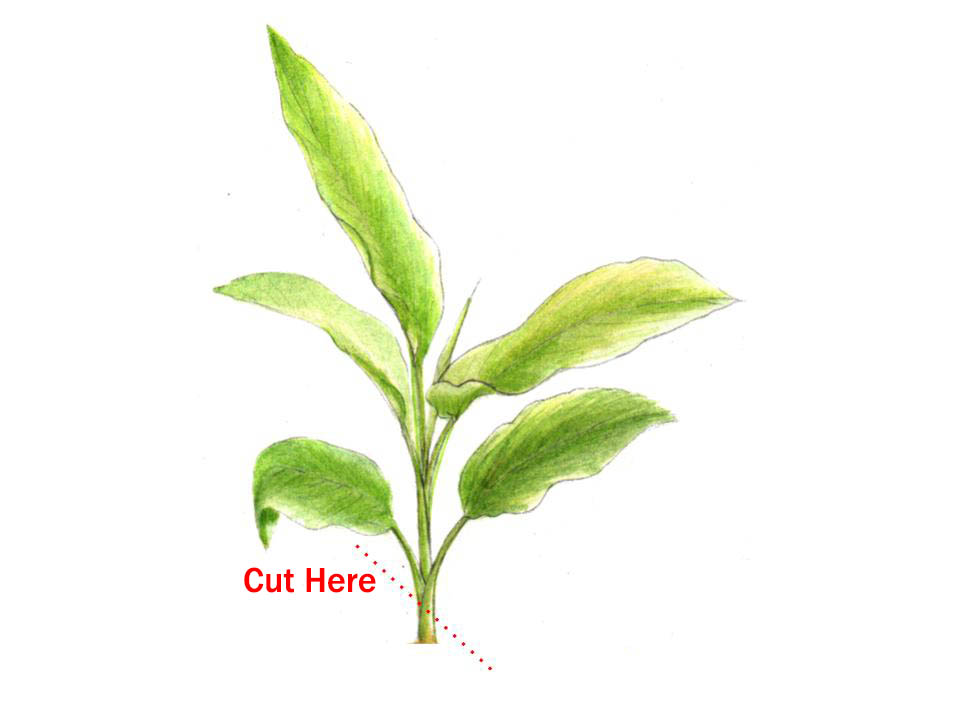
Cut the stem AT AN ANGLE about an inch from the bottom leaf BEFORE you remove the leaves (step five).
Step Five:
Remove excess leaves. You only need 2-3 leaves for the herb to grow. Removing the leaves will also allow the plant to focus more on growing the roots then having to feed the leaves.
Step Six:
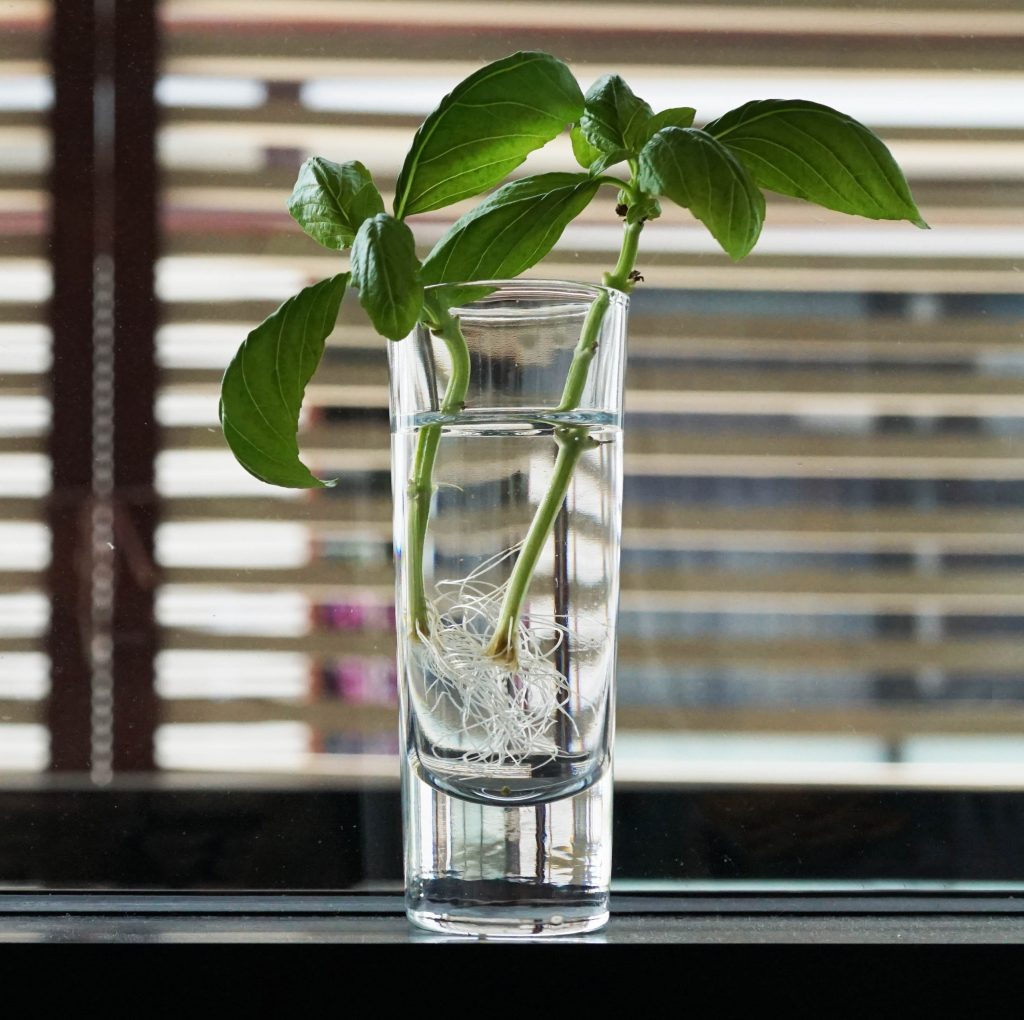
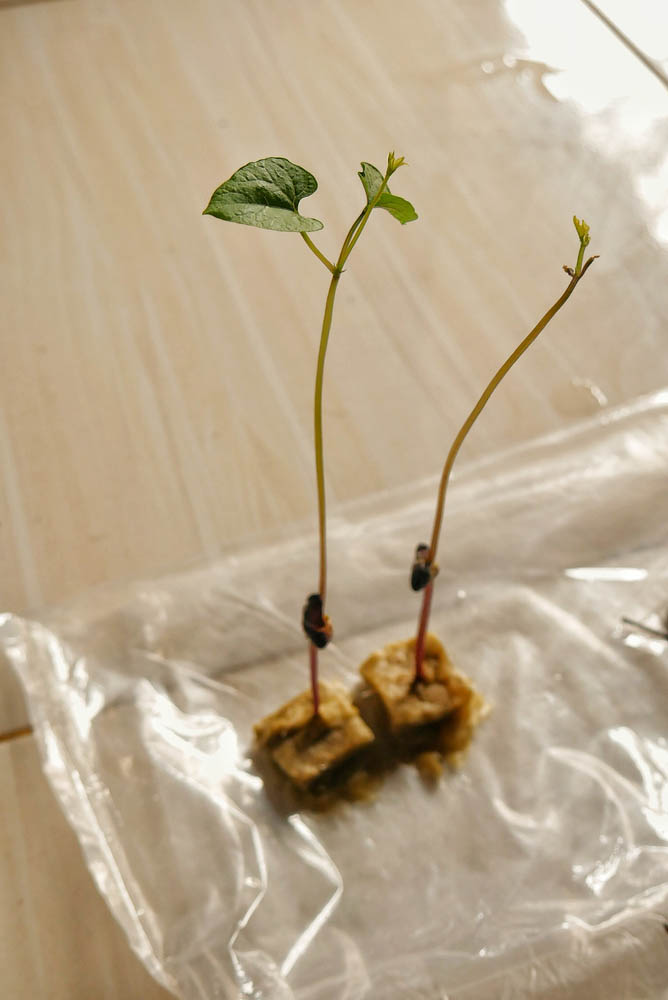
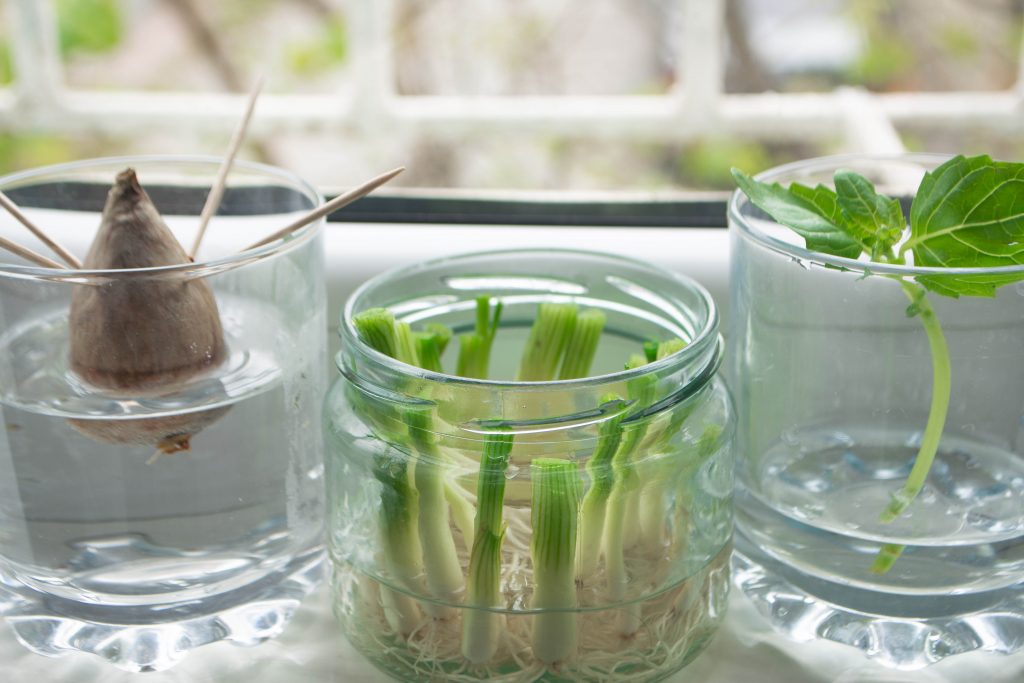
Place the tips of the plants into your Rockwool that’s inside the bin with the water.
If you want to, you can add a rooting hormone to help your plants root. However, you do not need this for the plant to grow. It will help fungus stay out of your root, though! Once your herb plant has grown to a decent size, you can start harvesting the leaves for cooking or garnishing. Be sure to only harvest a few leaves at a time so that the plant can continue to grow and produce more leaves.
There you have it! You are able to grow your own herbs from the store!

Most herbs can grow in rooms that have at least a 65 to 70°F day and 55 to 60°F night temperature regimes.
Tips:
You can attempt to get FREE herbs from the store!!!
How? Simply ask an employee if they have any herbs that they are throwing out.
Most herbs only have a shelf life for 2-3 days. So, a lot of stores have to throw away perfectly fine herbs so place new ones on the shelves.
For more information on hydroponics and aeroponics, check out our blogs!