Do you want to start an indoor, self-sustaining herb garden? Are you considering growing thyme…
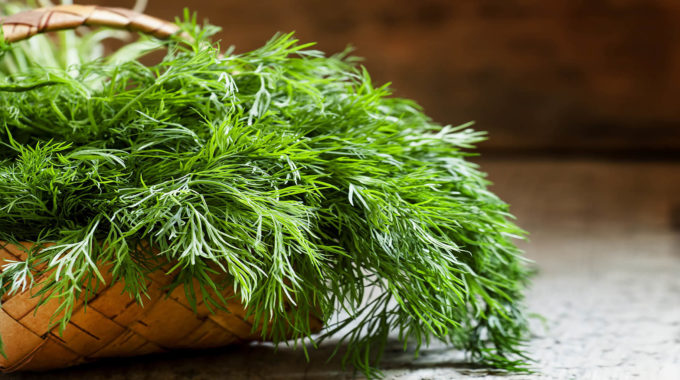
Dill
Do you want to find an easy and efficient way of growing dill? Would you like to produce large yields of high-quality dill? If so, then you should consider hydroponic growing.
Hydroponics is a method of growing plants that does not require the use of soil. Instead, the plants are grown in a nutrient-rich solution created from water and fertilizers. This type of gardening has become increasingly popular due to its ease of use and ability to produce high-yield crops with little effort.
Growing dill hydroponically can be a great way to have access to fresh herbs year round. It’s also an efficient and cost effective way for growers who are limited on space but still want to enjoy the benefits of hydroponic gardening. Here we’ll explore how to set up a simple hydroponic system for growing dill, along with tips on optimizing growth and production.
Dill Facts:
- Optimal PH: 5.5-6.7
- 800-1200 PPM
- Temp: 65–75ºF
Grows Well with in Soil
- Cabbage
- Asparagus
- Onion
- Cucumbers
- Basil
- Broccoli
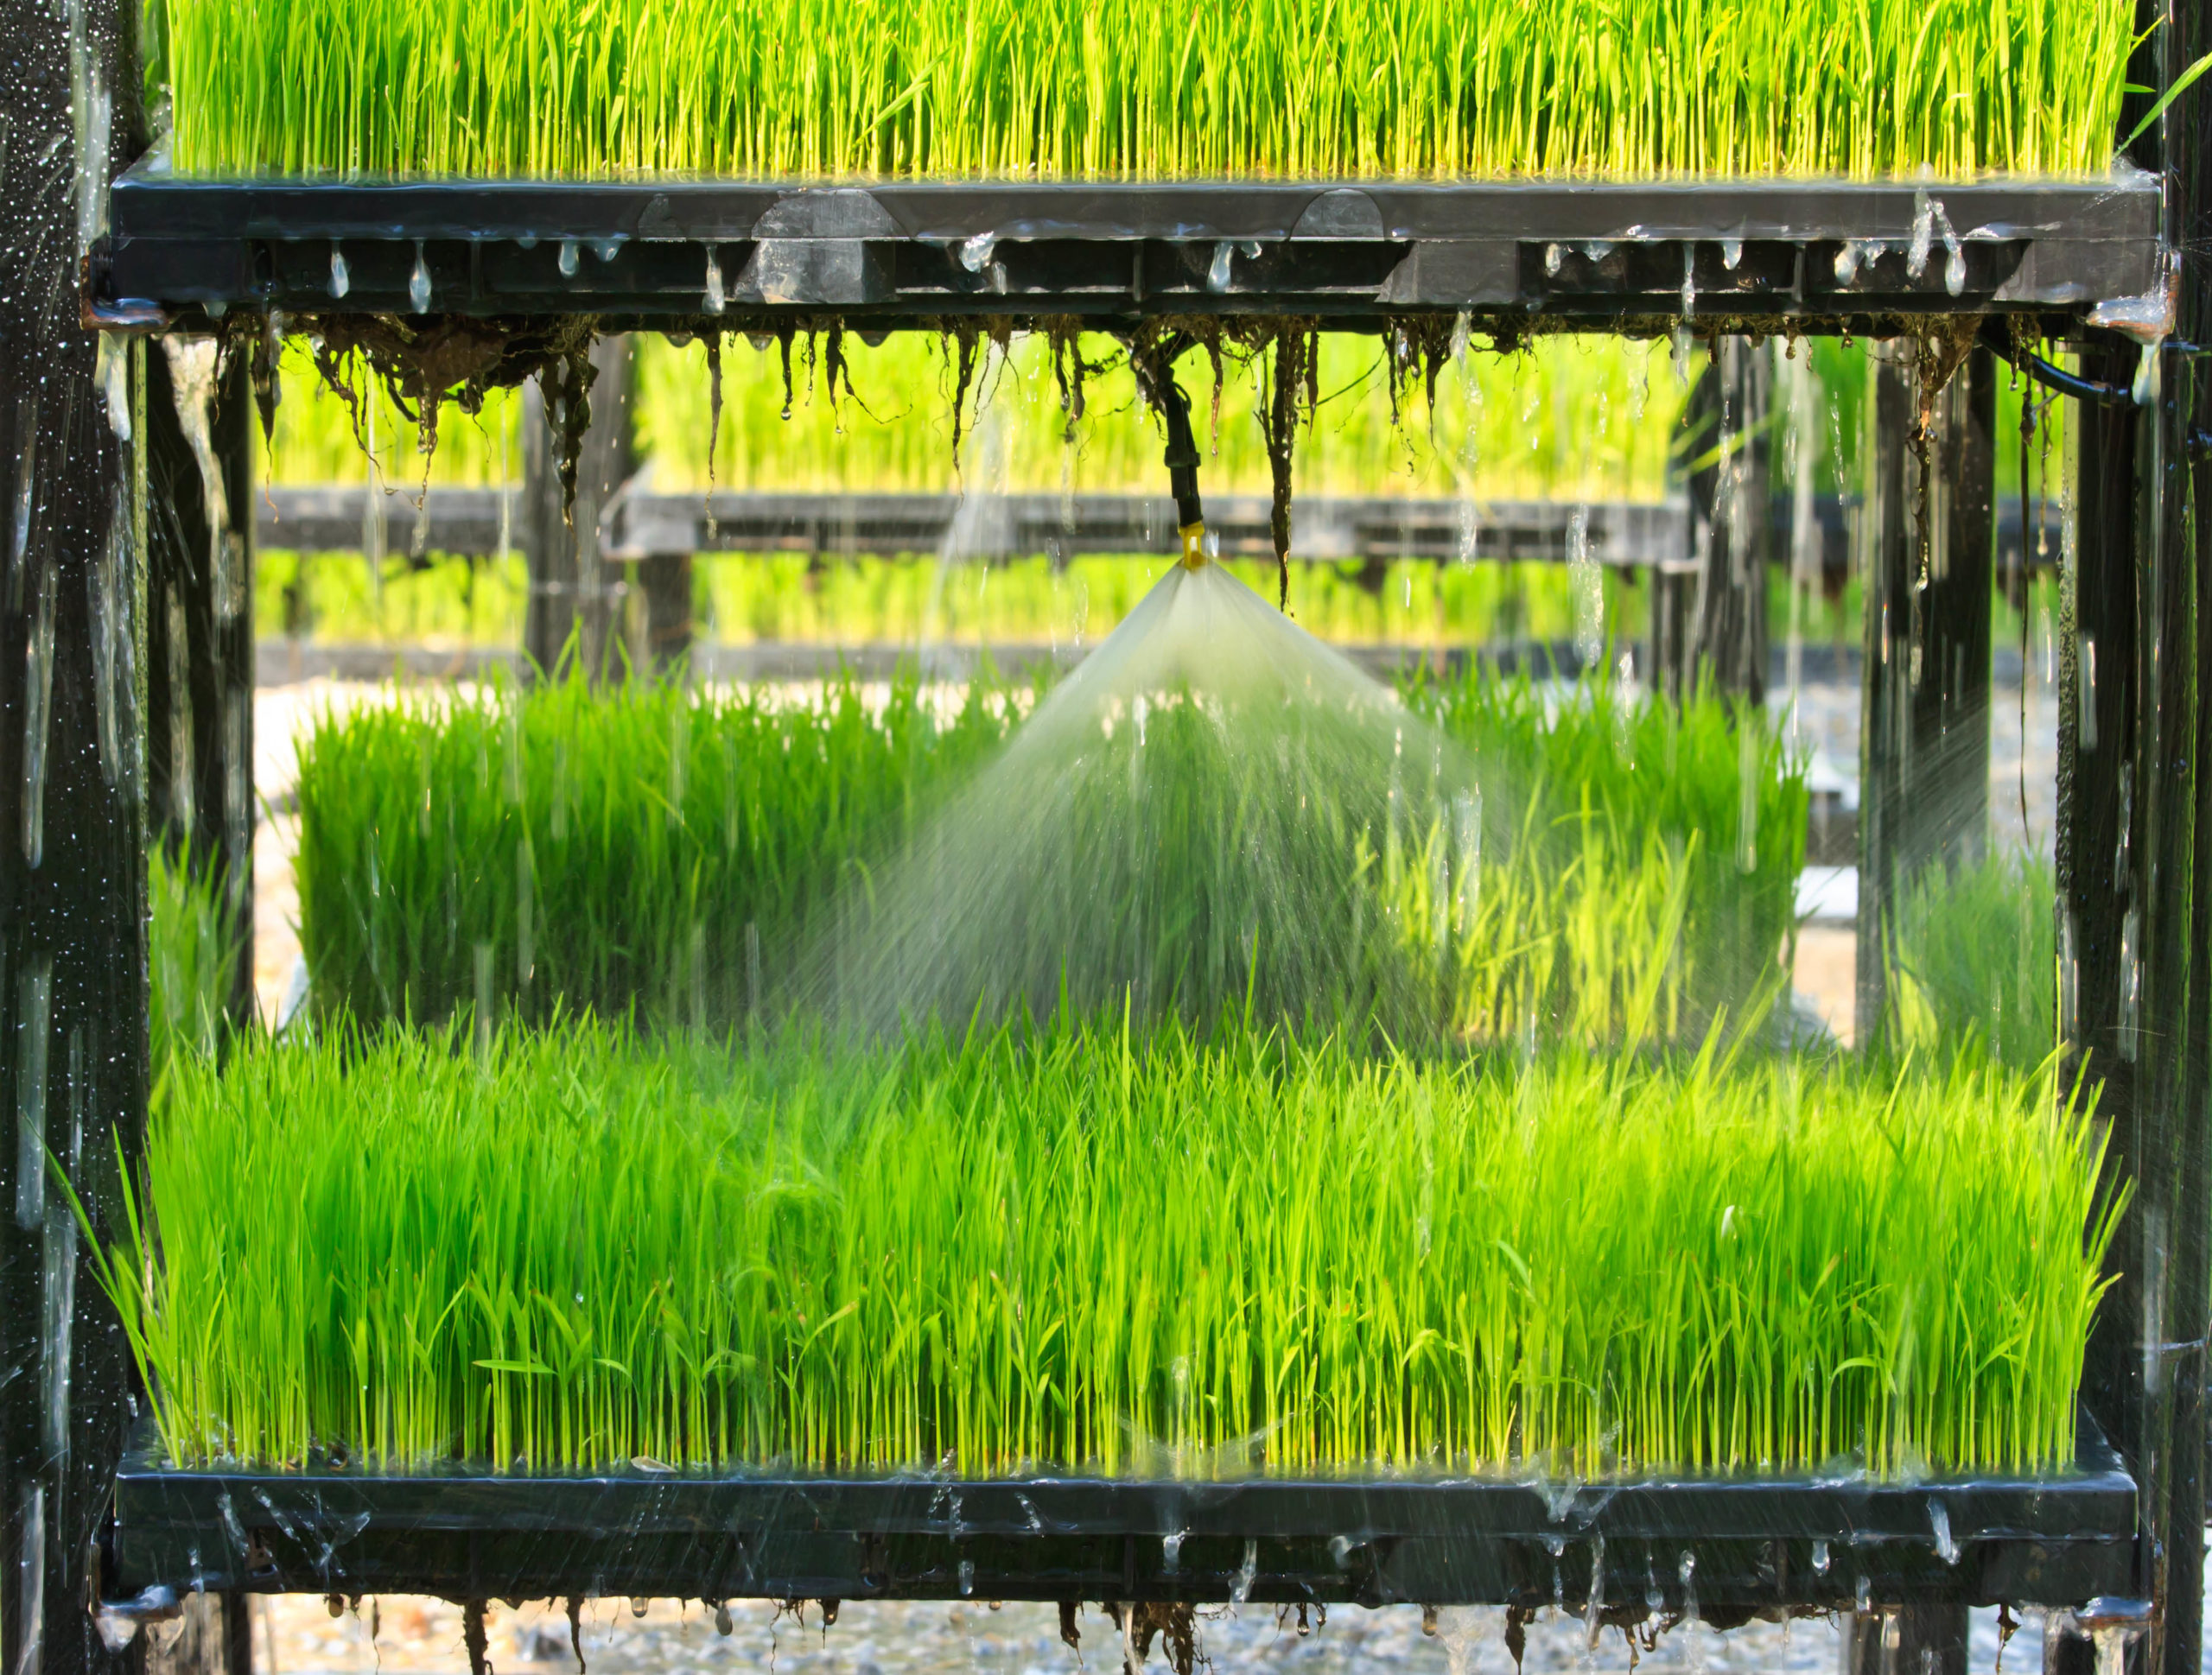
Aeroponic Dill
Growing dill aeroponically is an excellent way to produce a prolific crop that can generate a significant yield without the use of soil. Aeroponics is a method of growing plants in air or mist environment, without use of soil or an aggregate medium. It has been widely used and praised for its efficiency and ease of implementation, allowing growers to take advantage of numerous benefits that come along with this type of growing. Here’s an article outlining what you need to know about growing dill aeroponically:
Choose the Right Growing Container
When it comes to growing anything aeroponically, container choice is very important for success. You should make sure you have the proper container that can provide enough space for your plants’ roots to grow out and still remain oxygenated throughout their growth cycle. Avoid containers that are too shallow. Allow enough room for the roots to spread out when they enter the rooting medium and ultimately reach the nutrient solution.
Create a Rooting Medium
Aeroponic systems only require minimal amounts of water, so you’ll need some sort of medium holding mechanism such ashydrogel cubes, coconut coir pellets or other expandable materials designed specifically for aeroponic systems. The pieces should be large enough to provide adequate space between them for oxygen transfer, as well as small enough to be suspended in the nutrient solution with little effort.
Provide Adequate Levels of Nutrients
The nutrient requirements for plants grown in an aeroponic system are very similar to those needed from any other type of system – nitrogen (N), phosphorus (P), potassium (K), calcium (Ca) and magnesium (Mg). However, it’s worth noting that since these nutrients must be dissolved in water before they can be taken up by root cells, all nutrients used in an aeroponic system must also be optimized for optimal solubility.
Monitor Temperature & pH Levels Throughout Growth Period
Aeroponic systems rely heavily on oxygen transfer through the roots during growth periods. As such, ensuring stable temperature levels throughout the entire process will help keep your plants healthy while providing greater yields compared to more traditional systems where oxygen levels tend to fluctuate depending on external factors like climate change or extreme weather conditions. Additionally, keeping a close eye on pH levels is essential since ideal values vary depending on type of plant being grown and nutrient solution concentration level.
Harvest Plants at Peak Maturation
If done correctly, once your plants have reached maturity, they will begin producing continuous leaves which allow them to survive harsh weather conditions better than other types of crops such as annuals or perennials. When harvesting crops from anaerobic systems it’s important not let them get exposed too long after maturation due sunburn or disease issues caused by heat exposure on foliage areas – if possible, always harvest first thing in morning hours when temp conditions are usually lower than rest daytime period.
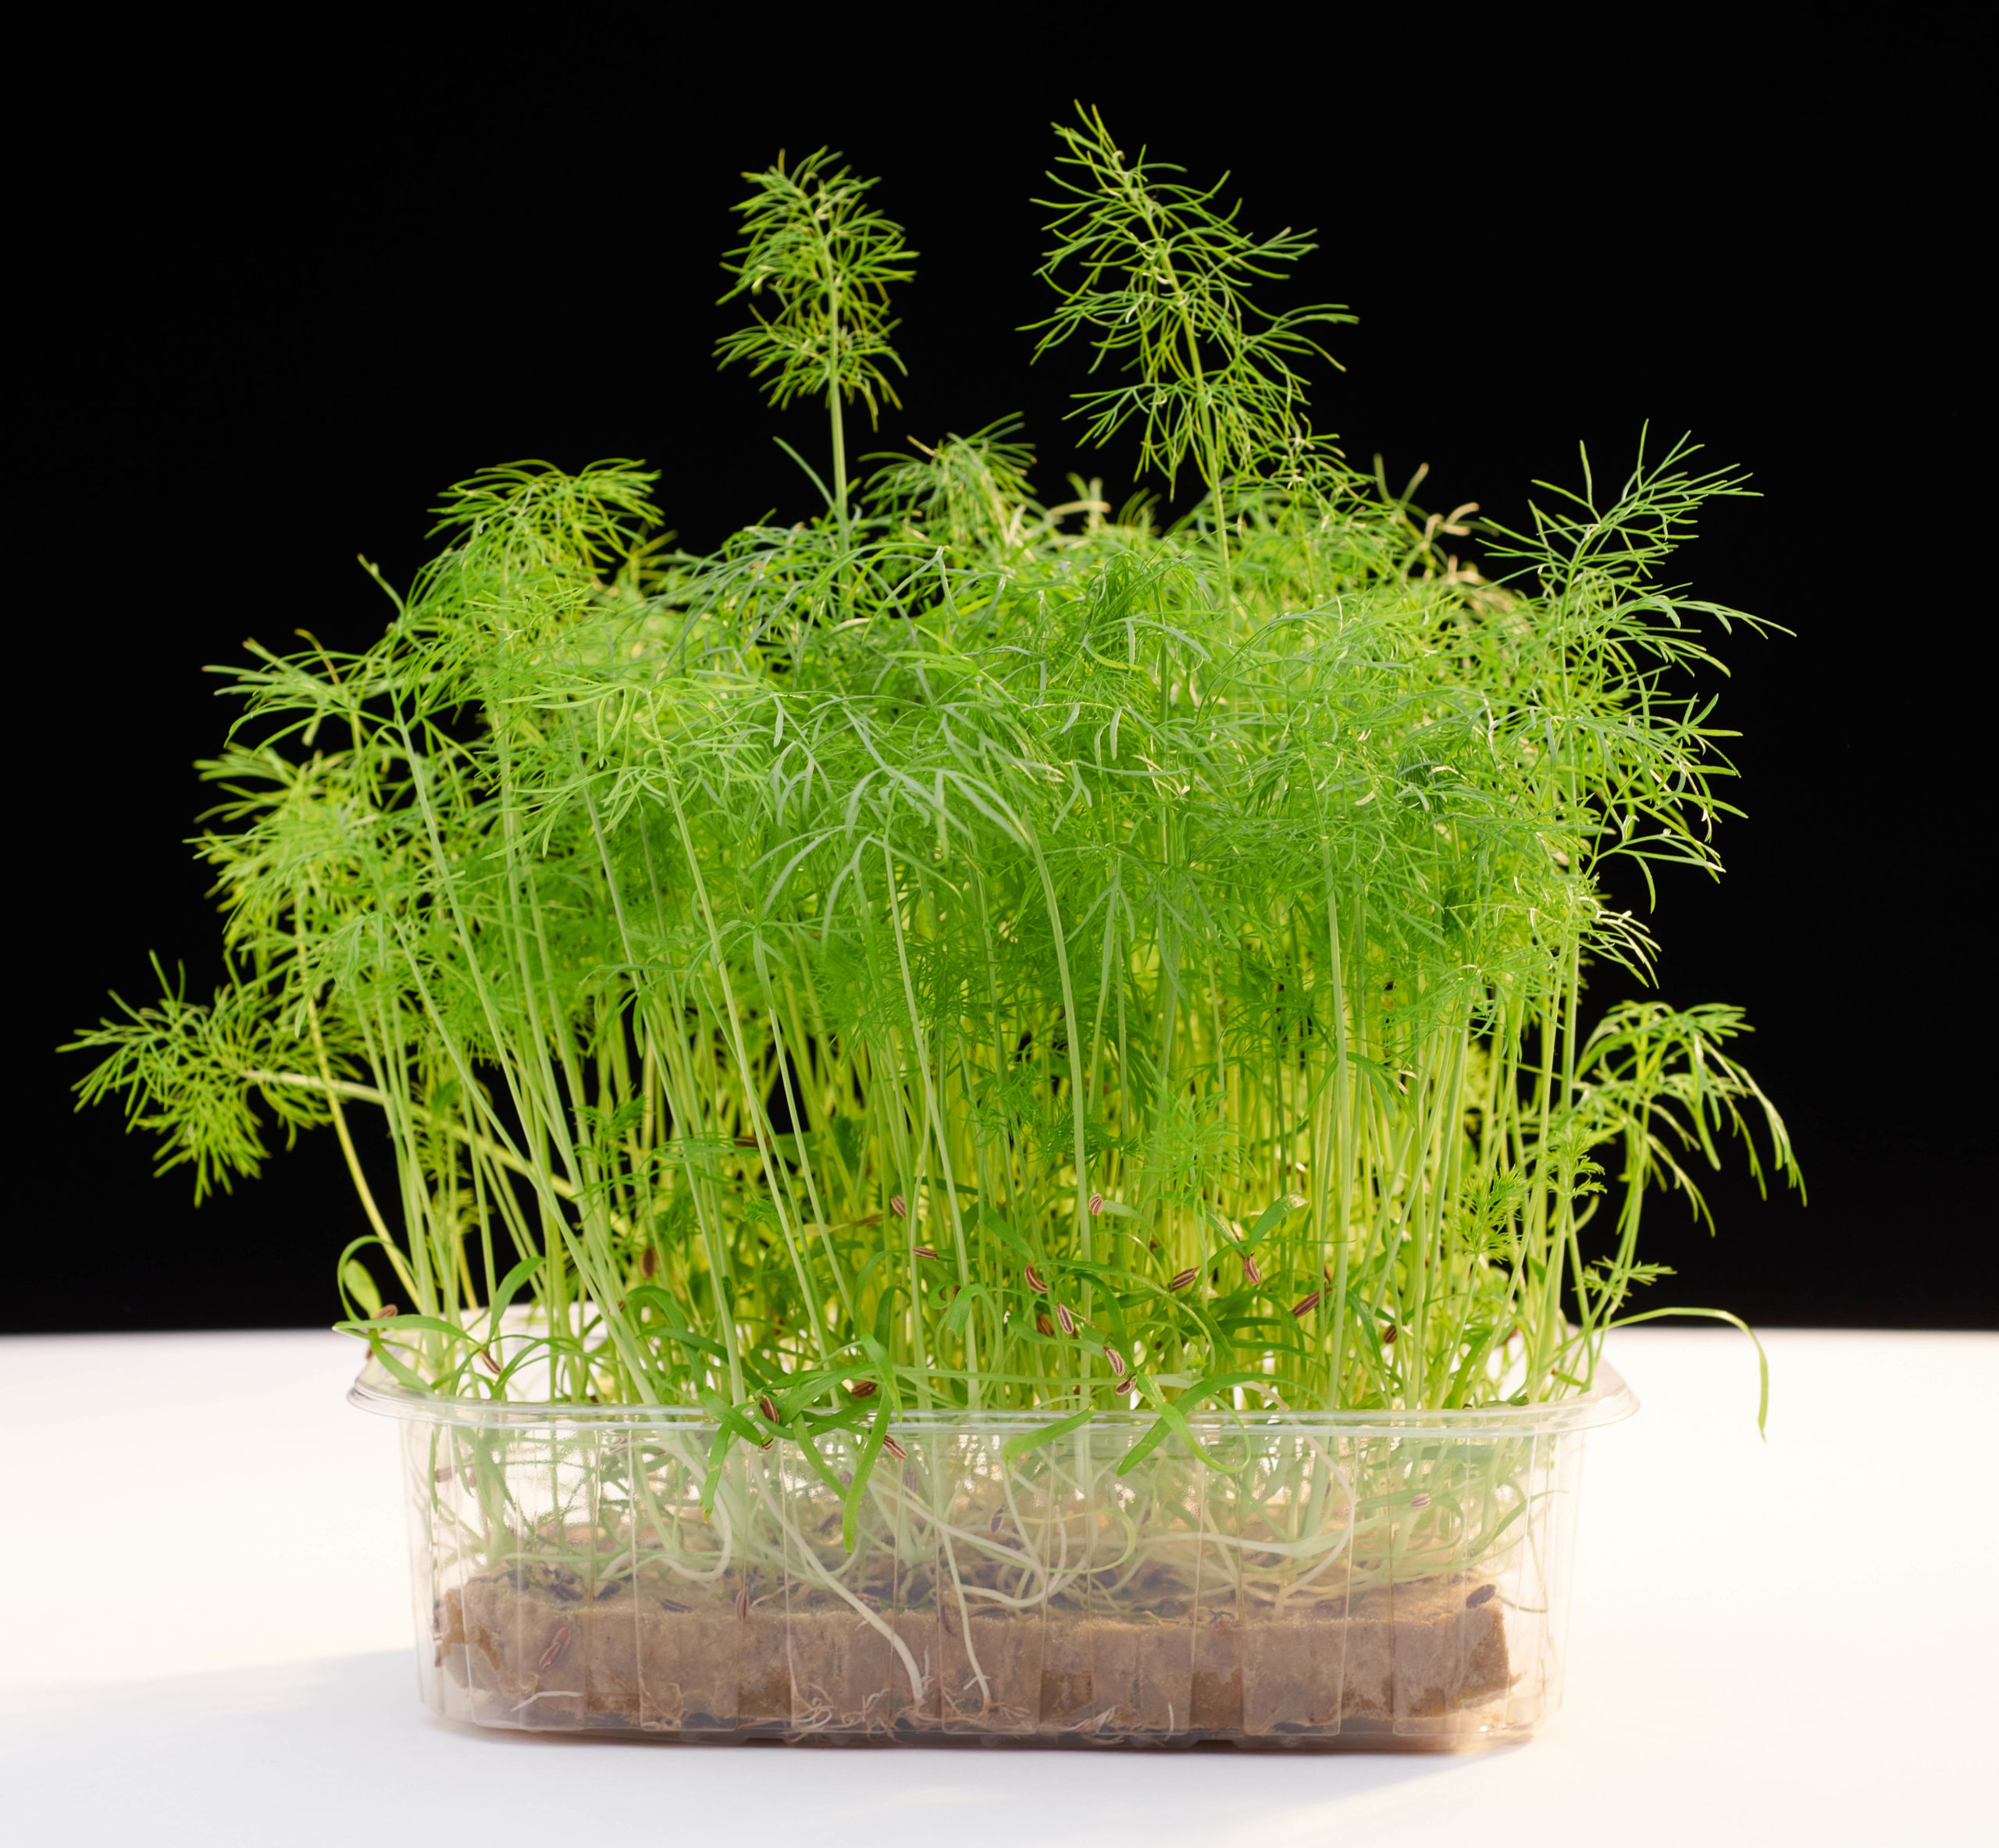
Hydroponic Dill
Do you want to try your hand at growing a versatile herb like dill and getting some of the many benefits it has to offer? Then read on as this article will provide you with all the basic steps needed for growing dill hydroponically in you DIY hydroponic system, or AeroGarden Harvest.
Growing dill hydroponically can be an incredibly rewarding experience and once you’ve mastered it, it will become easier over time. Though it does require some patience and effort initially, like any other project-worth starting-it will be well worth it in the end! Here are some step-by-step instructions for beginning your own hydroponic dill garden:
Instructions:
1) Buy quality seeds: Before getting started, make sure that you buy quality and fresh seeds from a reputable source. If possible, seek organic or heirloom seeds as they are healthier and come with no added chemicals or preservatives. I have included seed recommendations at the bottom of this guide.
2) Germination phase: The germination phase is probably one of the most important parts of the entire process. Sprinkle the seeds into you hydroponic system. Additionally, keeping temps above 70 degrees Fahrenheit should help encourage germination which usually takes about 7-15 days.
3) Place the seedlings into your hydroponic system: Once they’ve sprouted, you’ll then have to gently move them into your hydroponic system being careful not to injure or disturb their fragile root systems as much as possible. Make sure you also add nutrients according to your specific system requirements as this is key for healthy growth throughout every stage of development. Hydroponic dill typically grows very quickly reaching up to three feet high so if space in your garden allows; I recommend placing it behind other plants when possible so they don’t overshadow them while still allowing plenty of airflow between plants all around.
4) Monitor pH levels regularly: Regular monitoring of pH levels is essential for optimal plant growth considering that higher than normal nitrogen levels can result in nutrient lockouts (affecting absorption) thereby stunting growth significantly or worse still, cause premature death. It’s recommended that levels stay within a 5.5 – 6.7 range for best results but again check for specifics related to your set up first before making any adjustments.
With patience and practice even novice gardeners can successfully start their own indoor hydroponic gardens, producing top quality vegetables, fruits or herbs year-round without worrying about chemicals or weather conditions outside! Growing dill hydroponically may take more effort at first compared to other herbs however its ease to maintain along with its delicious flavor make it well worth exploring!
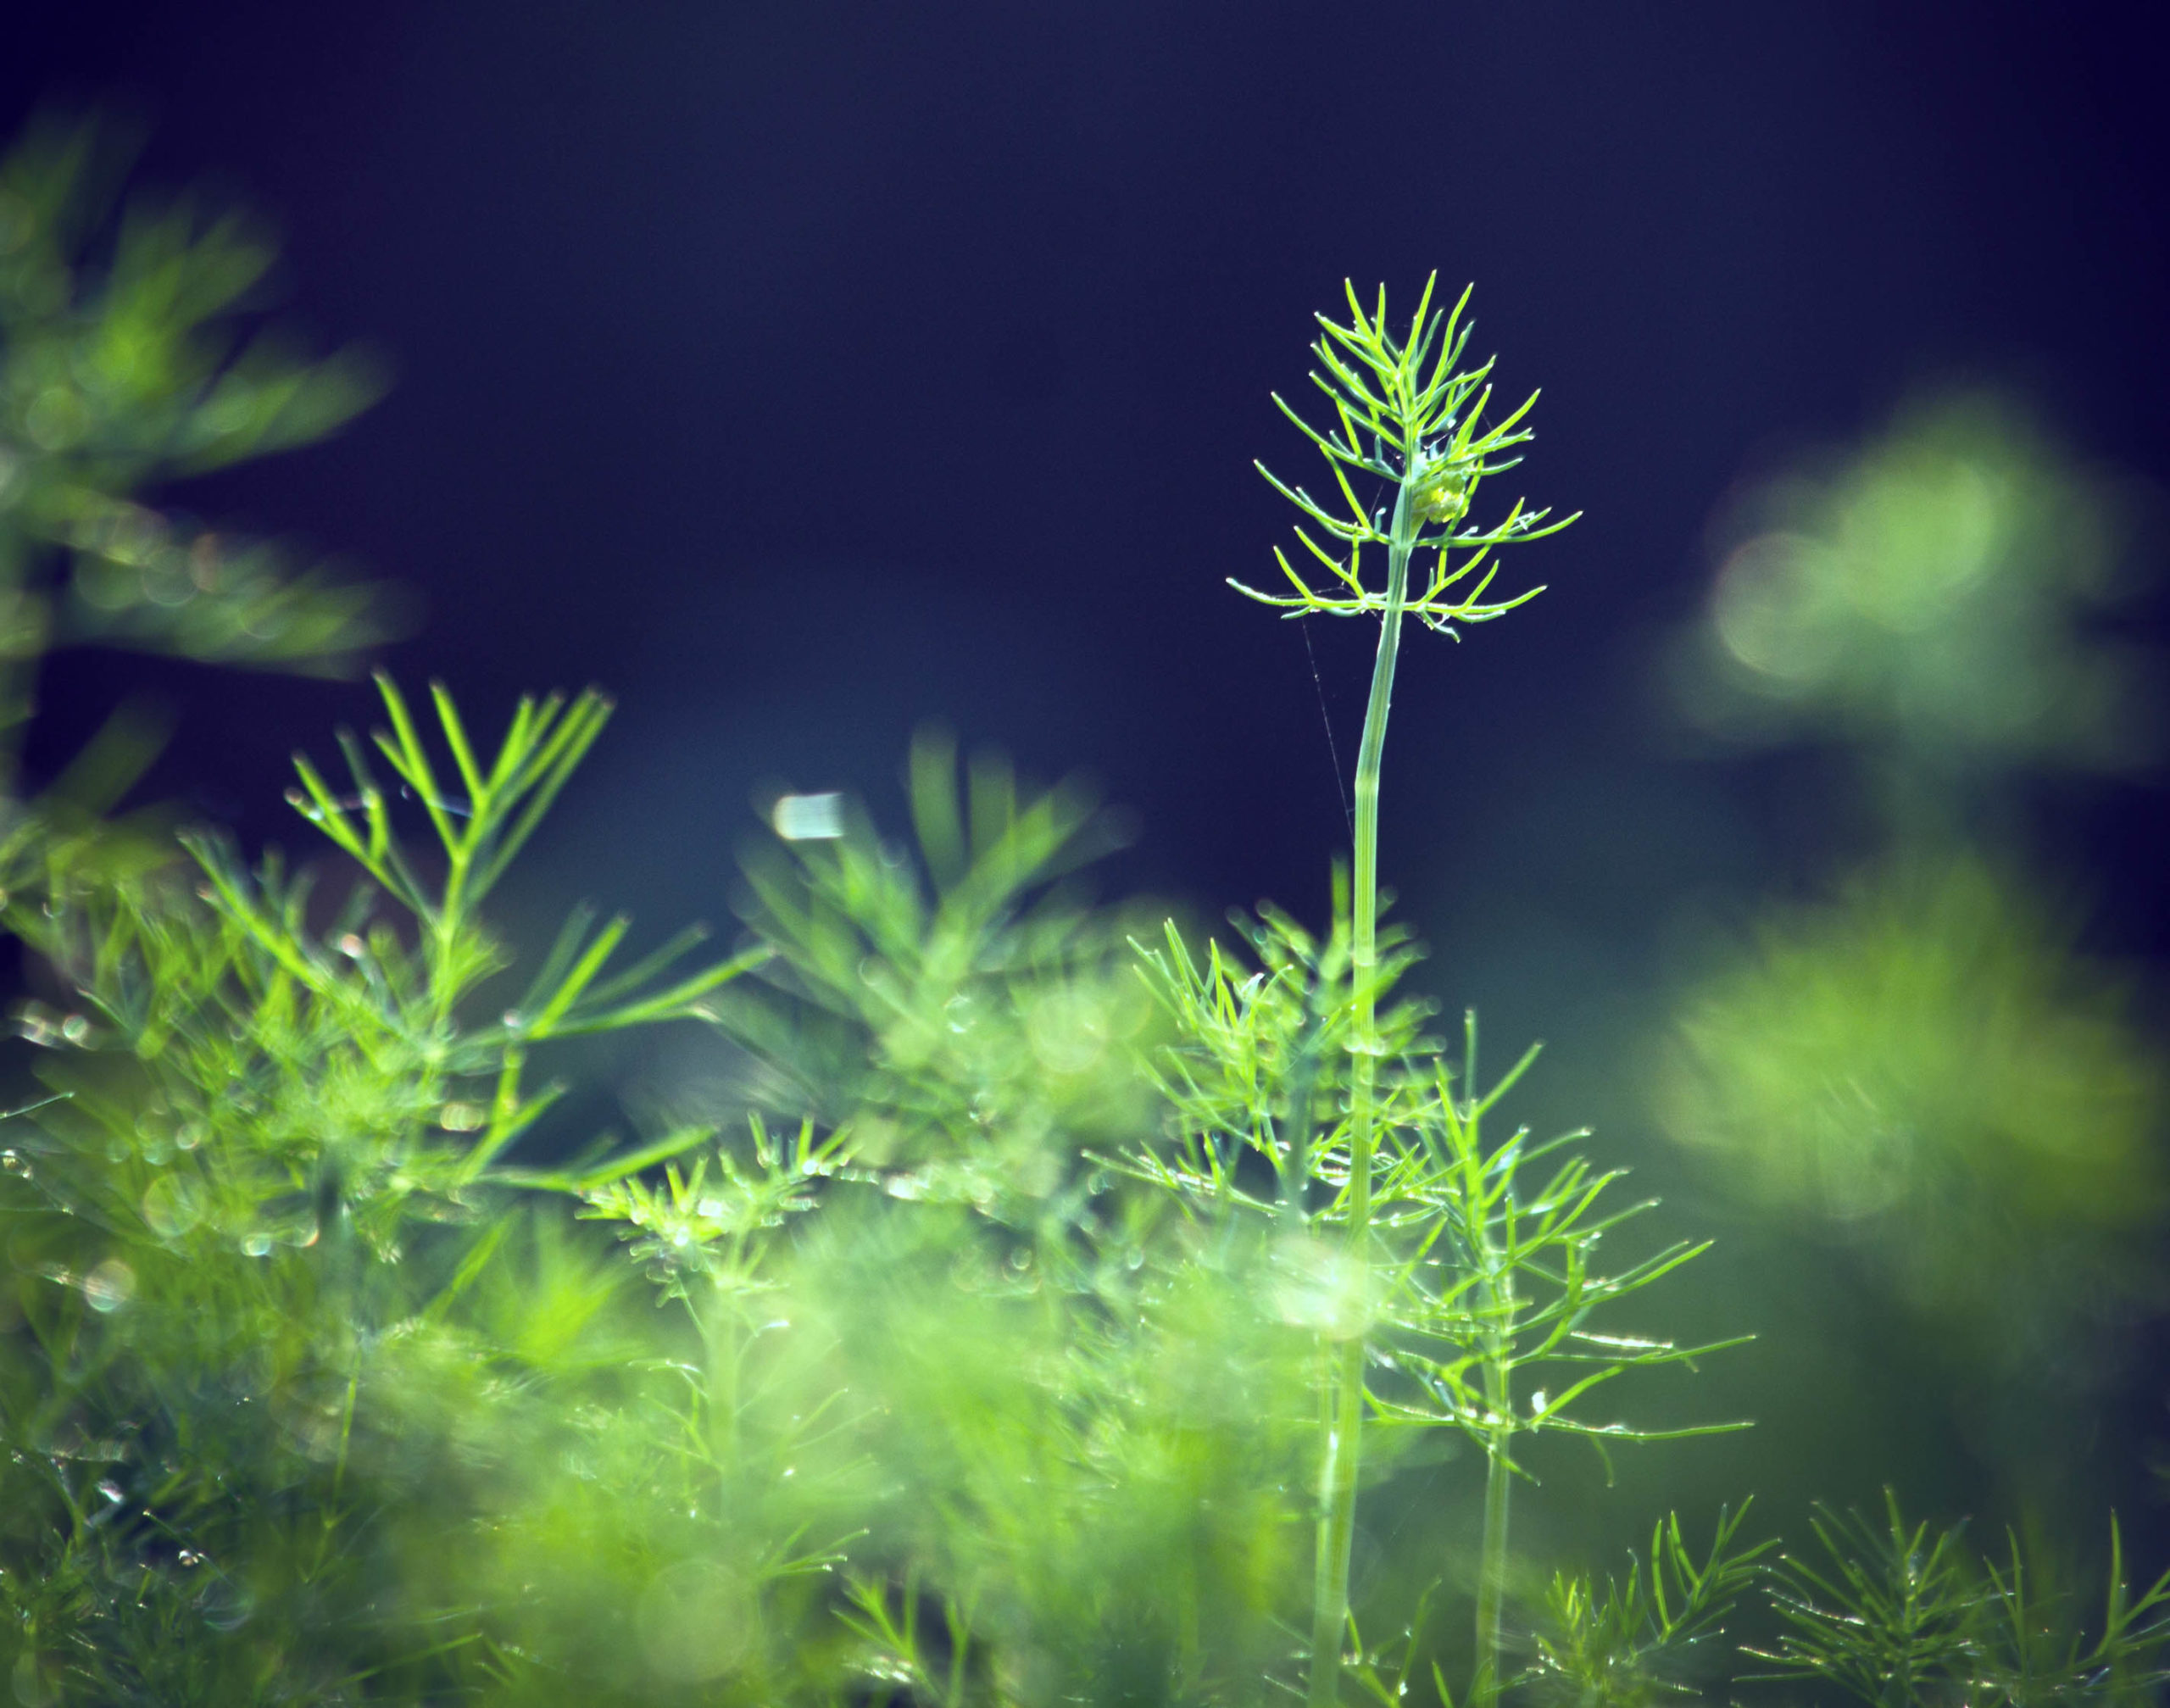
Hydroponic Dill
Indoor Dill
Do you have a green thumb? If so, growing plants can be a rewarding experience. But if you don’t have access to a garden or live in an area with limited outdoor space, why not try growing herbs indoors? One of the easiest herbs to grow indoors is dill. Here’s why growing dill indoors is easier than soil:
1. You Don’t Need Much Space
Dill is a space-saving herb that doesn’t take up much room, even when grown in containers. This makes it easy to fit into small spaces such as apartments, dorms and other indoor living areas.
2. No Soil Required
The most common way to grow dill indoors is using hydroponics – a method of growing plants without soil. Hydroponics requires minimal work and produces quicker results than soil-based planting methods. Plus, all you need are some watering systems and nutrient solutions to get your system started!
3. Minimal Maintenance Requirements
Hydroponic systems require minimal maintenance compared to regular gardening practices or store-bought dill pots. They don’t require weeding or fertilizers, and they virtually eliminate the task of re-potting your plant every 3-4 weeks due since all the necessary nutrients will already be present in the water solution and within the environment of your hydroponic planter unit itself.
4.More Flavorful Herbs
When you use hydroponics instead of soil for growing dill, you will taste the difference in flavor between products grown using different methods; for instance hydroponically grown Dill Weed has more intense aroma than regular one found at grocery stores.
Pruning
Growing dill indoors in a hydroponic system can be challenging. Regular pruning is essential to ensure that the dill stays healthy, vigorous, and produces a good amount of foliage. Here are some tips on how to prune your dill in an indoor hydroponic system:
Know When to Prune Dill
A good rule of thumb for pruning is to do it before the plants become crowded or start to flower. If you wait until after flowering starts, you will have discouraged new growth as the energy of the plant will be focused on producing flowers and seeds rather than leaves. Therefore, it is best to prune your dill when it reaches about 6–8 inches in height.
Prune From the Top Down
When you begin pruning dill, always work from the top down. Start at the top leaves and trim small side branches off one or two leaves at a time until only the main stem with new growth points remains at least 4-6 inches highest up on each branch. The idea is that you are creating space inside the plant for air circulation and sunlight penetration without overly burdening its overall structure.
Thin Out Leaves
During pruning, also remove some of the lower leaves on each branch so they don’t shade out any of the younger growing buds higher up on those same branches from getting accessed by light during photosynthesis. Too many mature leaves competing for access to light means fewer resources going into building more new foliage for additional harvest later down in the season for when you need more herbs.
Use Hygienic Pruning Practices
To avoid transferring pests or diseases from plant to plant, always use clean pruners that have been washed between jobs after taking care of different batches of foliage. Also wear clean gloves throughout your pruning session if you could be exposed directly to abrasive stems as your hands may already carry pathogens that aren’t easily visible to us but would manifest under unfavorable conditions if given half a chance like spreading quickly across other plants through direct contact with our skin surface.
Pest Control
It can be tricky avoiding pesky insects when growing any kind of produce or herbal plants outdoors or especially indoors–in soils! With hydroponically grown herbs like dill weed, pests are rarely an issue as there is no “host” (i.e., soil) for them to call home, so their food sources are commonly non-existent for them inside this type of closed loop environment–making hydroponic dill webs comparatively easier to maintain from an insect perspective! However, if present, insecticidal soap can be used to combat them.
Diseases
Hydroponic dill is less likely to develop diseases because plants grown in this way don’t need to compete with other plants for nutrients and ample spacing, which can minimize the spread of disease. Plants grown hydroponically also have access to sufficient fresh air, balanced nutrient levels, no pests or soil-borne illnesses, and they are less exposed to external contaminants such as fungicides or viruses.
Tips & Tricks
- Start with a well aerated seed starting mix.
- Place your plants in a sunny area.
- Ensure you maintain the right pH level (about 5.5 – 6.5) in nutrient solution when watering plants.
- Change nutrient solution weekly or if necessary, depending on your plant’s needs.
- Start Harvesting When Ready: Once your plants have reached a mature size and have produced plenty of yellow flowers but before they start to turn brown, it is ready for its first crop! For best results, harvest frequently by cutting off only the top 1-2 inches of each plant regularly when possible.
- Avoid damaging the roots or stems while harvesting your hydroponic dill by using sharp scissors instead of pulling them from the ground with your hands — you don’t want to accidentally damage any other parts of the plant!
- Once you’ve harvested your crop rinse it under cold water and pat it dry with paper towels before storing them in bags or containers for future use (it will last much longer this way!).
- To keep your harvests from going bad quickly place them in an airtight container and store them in the refrigerator where it can stay fresh for up to two weeks! Plus, freezing is also an option if you want your harvest to last even longer — just make sure to wrap them tightly so they don’t get freezer burn.
Inside Scoop
I love using my AeroGarden! I find it the easiest method for hydroponics. I don’t have a lot of space, which is why this setup is perfect!
AeroGardens are the best hydroponic growing systems because they are one of the easiest to use and require very little setup. They offer an ideal balance between automation and user control, which makes it suitable for both novice and expert gardeners. Additionally, AeroGarden’s advanced technology offers maximum growth potential, with adjustable lighting and built-in fertilizer pumps. The systems are self-contained, making them clean and low maintenance. Most importantly, their unique growing technology is designed to ensure plants receive optimal water flow for optimal root oxygenation.
Recommended Seeds:
- AeroGarden Gourmet Herb 3-Pod: Has Genovese Basil, Curly Parsley, and Dill.
- AeroGarden Gourmet Herb 6-Pod: Has Genovese Basil, Thai Basil, Curly Parsley, Thyme, Mint, and Dill.
- AeroGarden Gourmet Herb 9-Pod: Has Genovese Basil (2), Thai Basil, Curly Parsley, Thyme, Chive, Mint, Dill, and Italian Parsley.
- Dill Seeds: You can use these seeds in their AeroGarden Grow Anything Seed Pod Kit.
Recipes:
Are you looking to add some dill to your culinary creations? If so, you’ve come to the right place. Here are some of the best dill recipes that will add flavor and variety to any meal or snack.
Dill Dip
This is a classic dip that is perfect for vegetables, chips, and crackers. It’s easy to make and makes for a great appetizer or side dish.
Ingredients:
-1 cup sour cream
-1/4 cup mayonnaise
-2 tablespoons freshly chopped dill
-1 tablespoon lemon juice
-1/4 teaspoon salt
-1 clove garlic minced
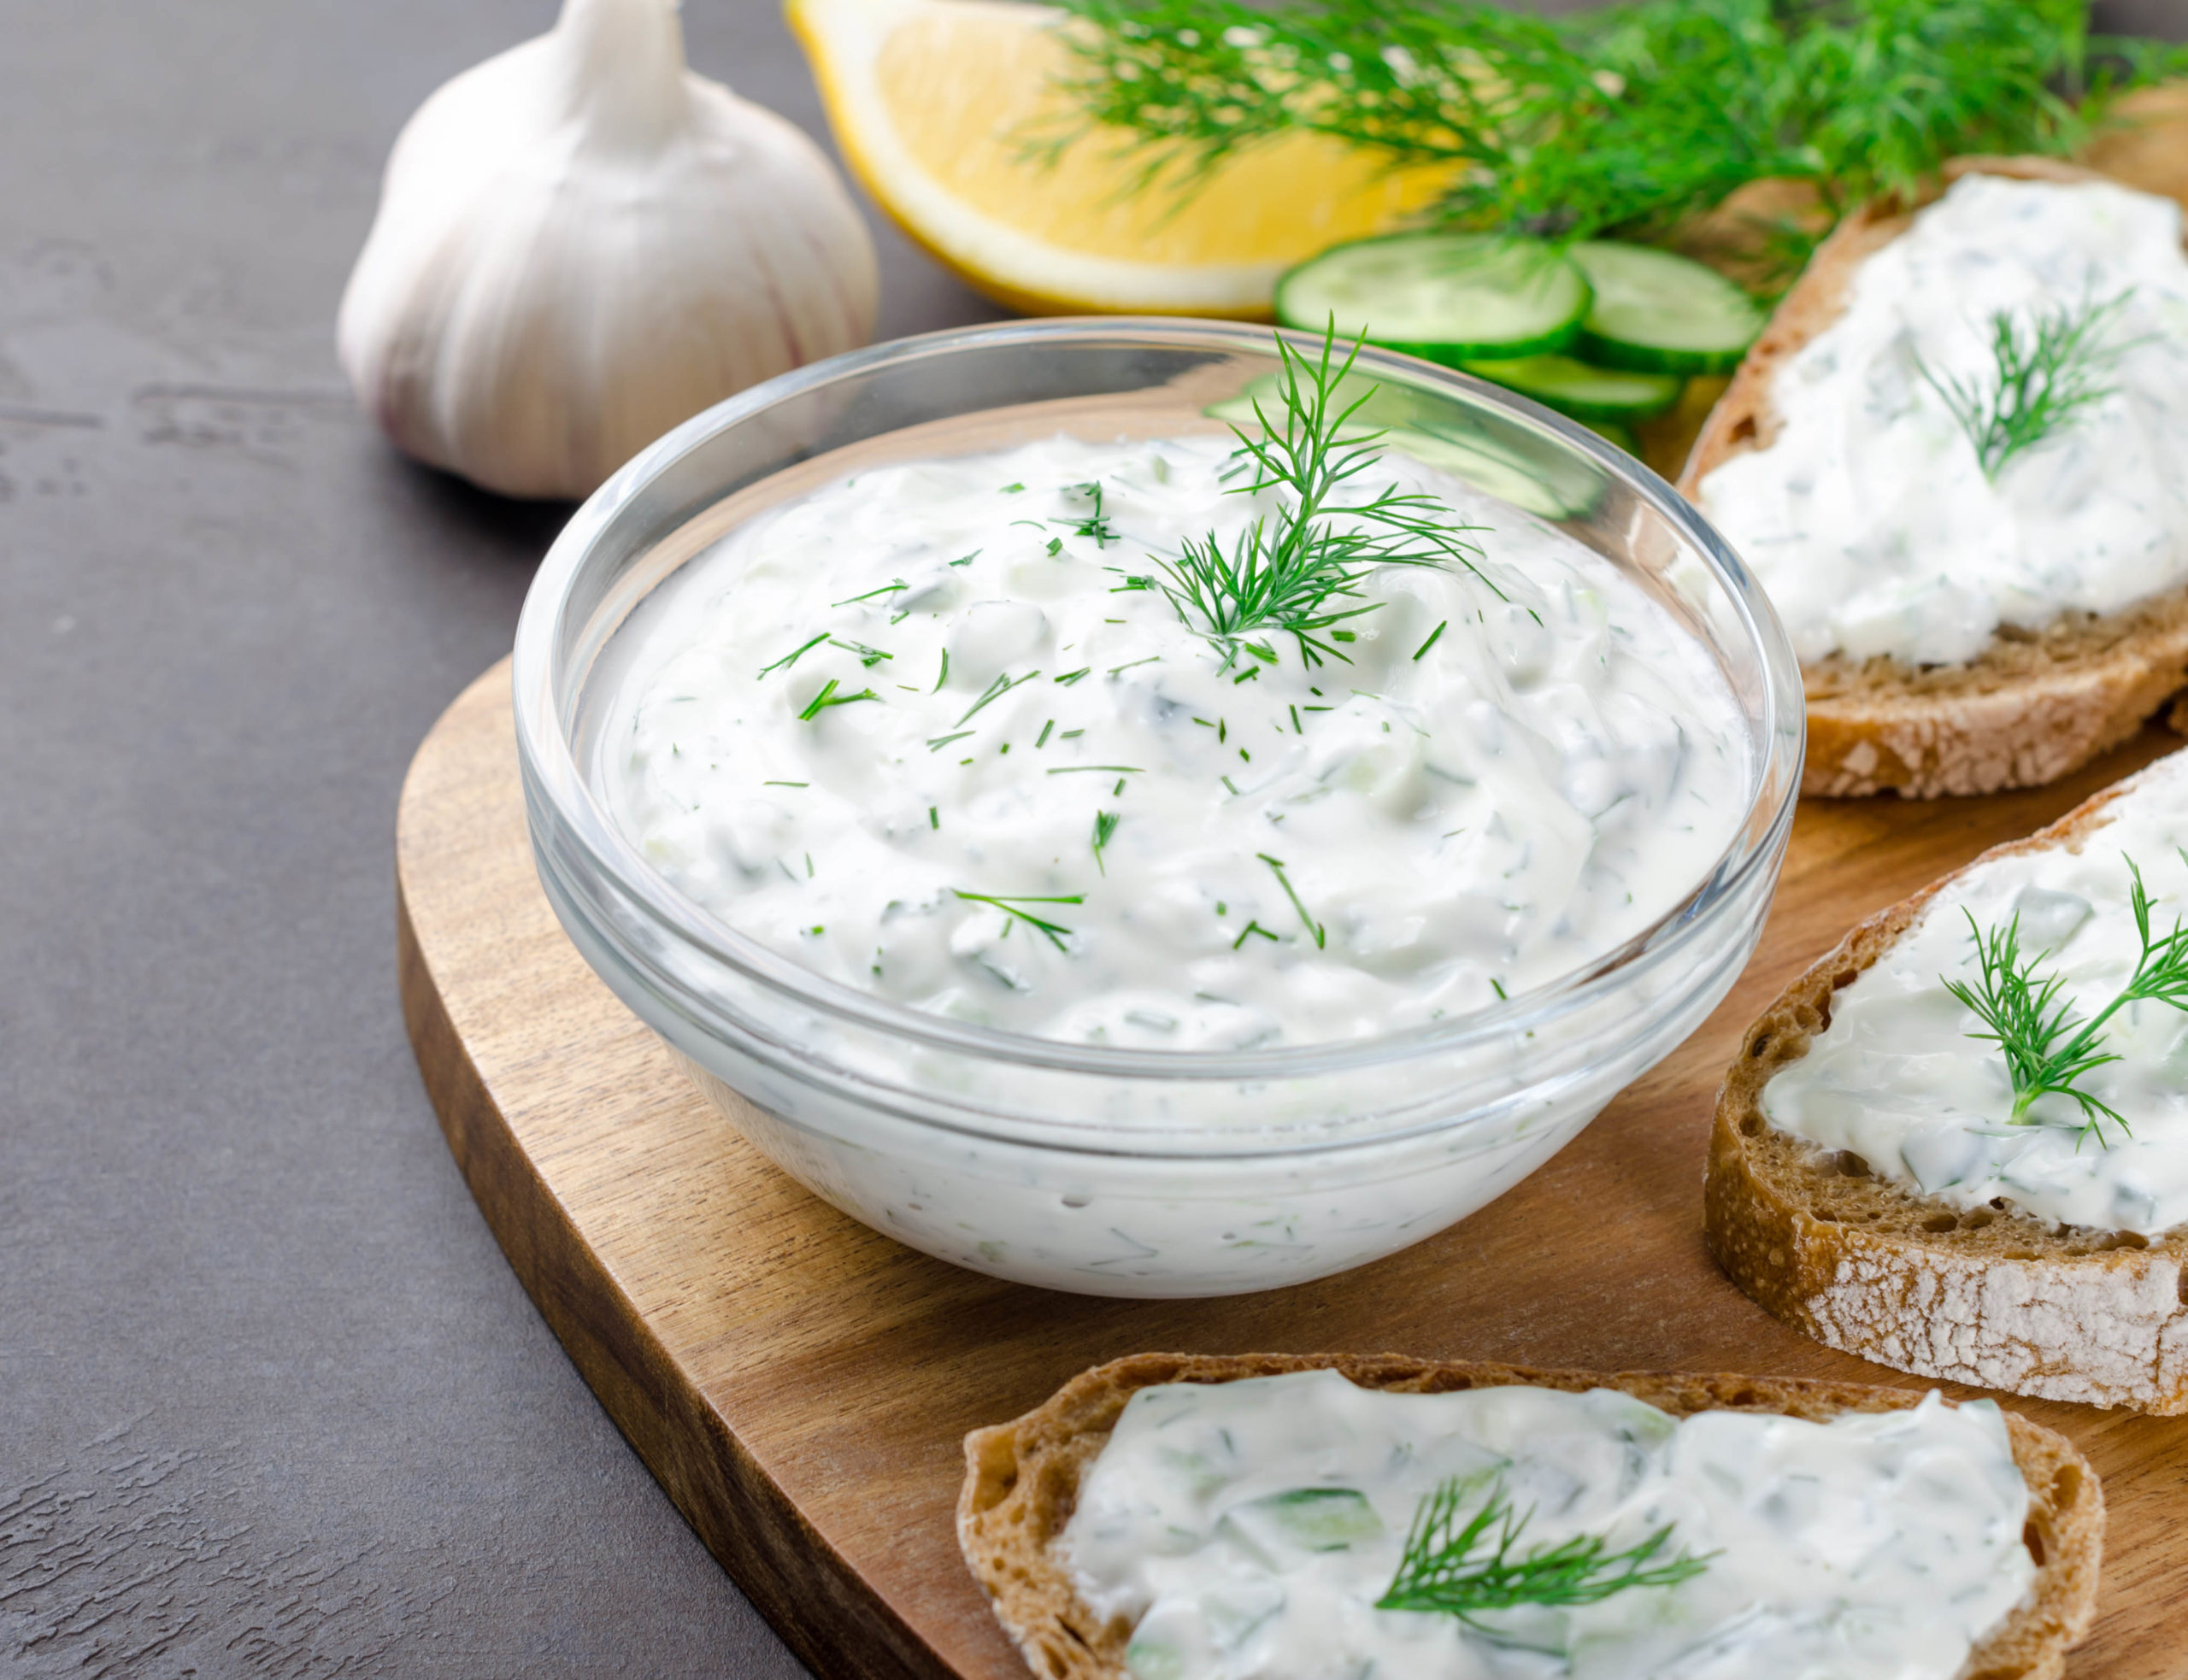
Directions:
Combine all ingredients in a small bowl and mix until well blended. Serve with your favorite cut vegetables, chips, or crackers. Makes about 1 cup of dip.

This salmon and dill recipe is a great way to bring flavor and nutrition to your plate. The combination of the salmon and fresh dill creates a delicious dish that’s high in protein, healthy fats, vitamins, and minerals. The addition of vegetables like bell peppers, onions, and mushrooms add additional nutrition, texture, and color. Overall, this is an easy-to-prepare meal that’s sure to please your palate.
This dill potato salad recipe is a great option for anyone looking for a delicious side dish! It is quick and easy to make, and only requires a few simple ingredients. Dill adds an extra layer of flavor to the dish, and the onions provide some crunchiness. This dish is perfect as an accompaniment to any main course and is sure to be loved by all!

Related Posts